What you need
A pencil, an eraser and a sheet of paper are enough. Draw lightly at first, then trace the lines you want to keep when your christmas lights is finished.
All 6 steps on one sheet
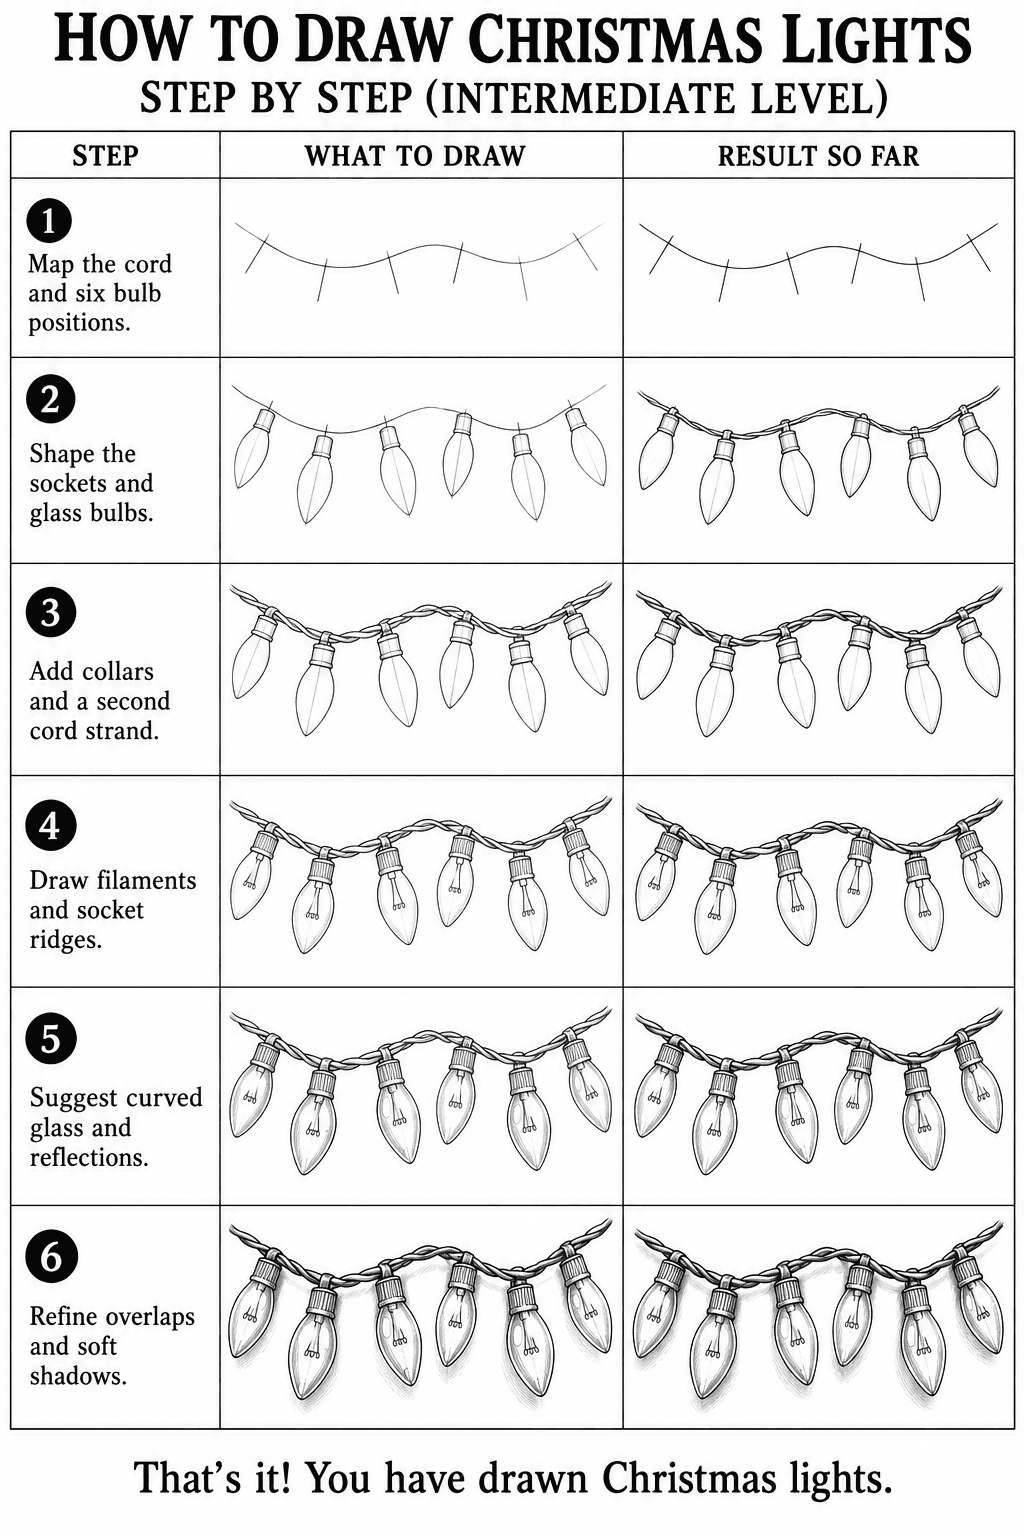
Copy the whole drawing from this sheet, or follow the steps below one at a time.
Step 1 of 6
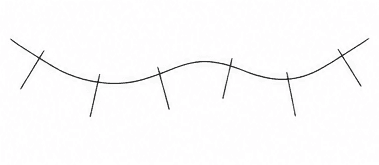
Map the cord and six bulb positions
Draw one gently swooping line for the cord. Mark six short axes along it, varying their angles slightly to plan where the bulbs will hang.
Beginner tip: Keep enough space between the axes for the width of each glass bulb.
Your drawing after step 1 Step 2 of 6
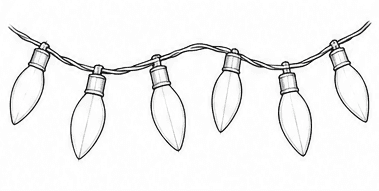
Shape the sockets and glass bulbs
Place a small cylindrical socket on each axis. Extend rounded, tapered glass contours below the sockets and begin defining the cord above them.
Your drawing after step 2 Step 3 of 6
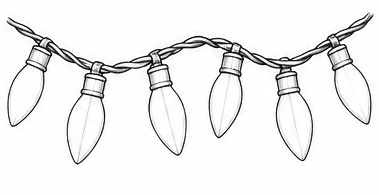
Add collars and a second cord strand
Refine the collars where the glass meets each socket. Trace a second strand along the cord, crossing the two strands gently to suggest twisted insulated wire.
Your drawing after step 3 Step 4 of 6
Draw filaments and socket ridges
Add two slender supports and a tiny filament inside each bulb. Use short parallel marks to describe the ridged surface of each socket.
Beginner tip: Align the internal supports with each bulb's angle so they follow the same perspective.
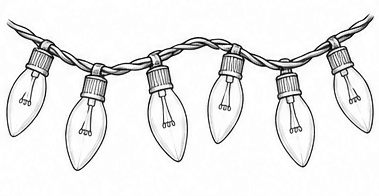
Your drawing after step 4 Step 5 of 6
Suggest curved glass and reflections
Add sparse curved strokes along the bulb edges to show rounded glass. Leave narrow white highlights and small reflection shapes rather than shading the whole bulb.
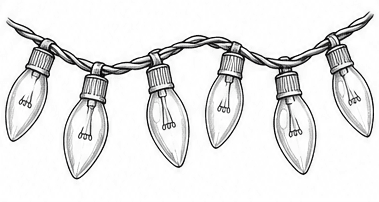
Your drawing after step 5 Step 6 of 6
Refine overlaps and soft shadows
Remove unused guides and strengthen selected contours around the cord and sockets. Add light hatching beside the bulbs and under the wire for soft cast shadows.
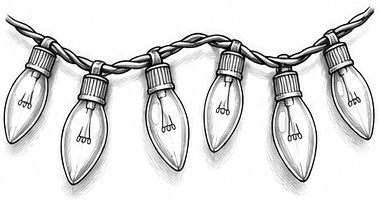
Your drawing after step 6
That's it! You have drawn a christmas lights.
Trace your favorite lines a little darker, erase any unwanted pencil marks and add color if you would like.