What you need
A pencil, an eraser and a sheet of paper are enough. Draw lightly at first, then trace the lines you want to keep when your santa's face is finished.
All 6 steps on one sheet
Copy the whole drawing from this sheet, or follow the steps below one at a time.
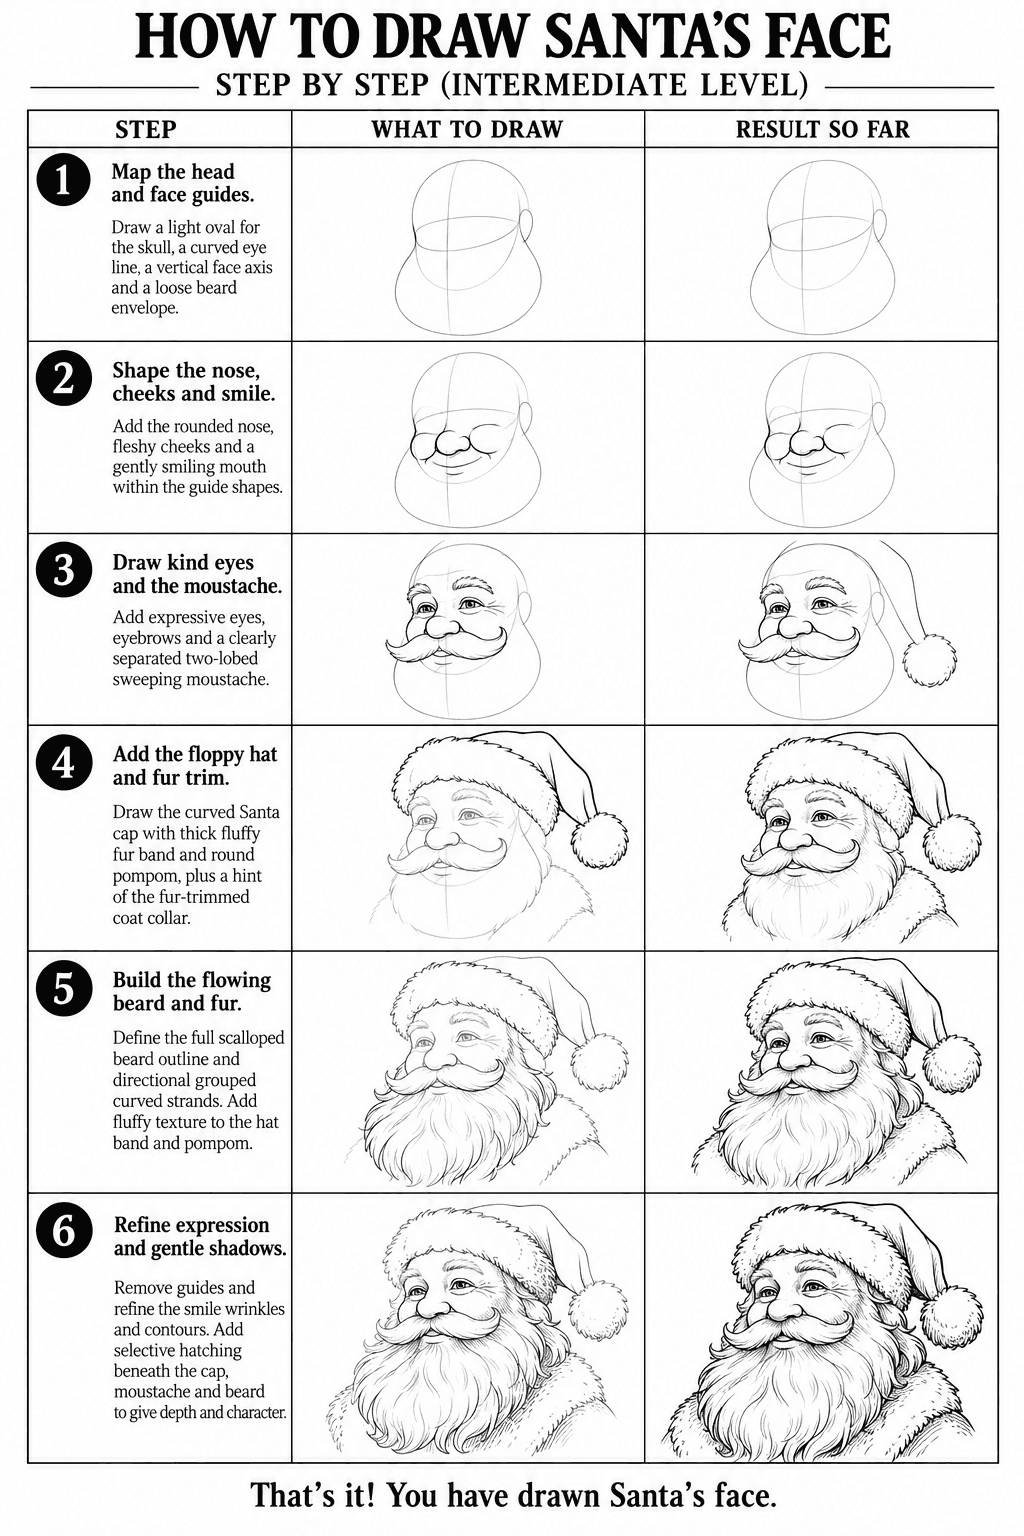
Step 1 of 6
Map the head and face guides
Draw a light oval for the skull, a curved eye line and a vertical face axis. Add a loose outline below the head to reserve space for Santa's beard.
Beginner tip: Curve the guides around the head to establish the slight three-quarter view.
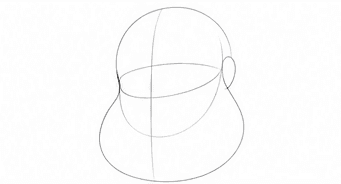
Your drawing after step 1 Step 2 of 6
Shape the nose, cheeks and smile
Place a rounded nose near the face axis. Build full cheeks to either side and add a gently smiling mouth, keeping the construction lines light.
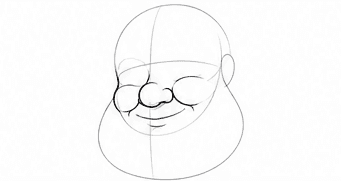
Your drawing after step 2 Step 3 of 6
Draw kind eyes and the moustache
Draw smiling eyes beneath bushy eyebrows. Sweep two curled moustache shapes out from under the nose and begin the drooping outline of Santa's cap.
Beginner tip: Let the cheeks lift toward the eyes to give Santa a warm expression.
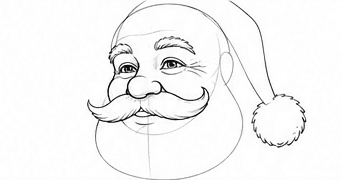
Your drawing after step 3 Step 4 of 6
Add the floppy hat and fur trim
Finish the curved cap with a thick, fluffy band and a round pompom. Establish the beard's outer tufts and a small fur-trimmed coat collar beneath it.
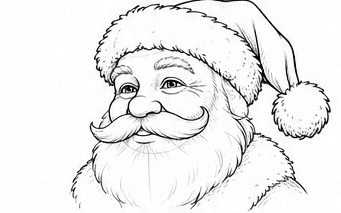
Your drawing after step 4 Step 5 of 6
Build the flowing beard and fur
Group curved beard strands so they flow down from the cheeks and moustache. Add irregular tufts to the hat band, pompom and collar while preserving open white highlights.
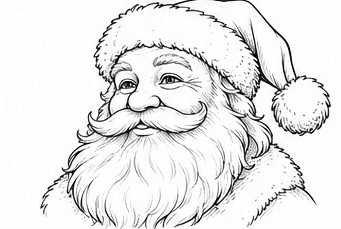
Your drawing after step 5 Step 6 of 6
Refine expression and gentle shadows
Remove unused guides and refine the smile lines, eyes and selected contours. Add sparse hatching under the hat, moustache and overlapping beard groups for depth.
Beginner tip: Keep the beard mostly white and concentrate dark accents where forms overlap.
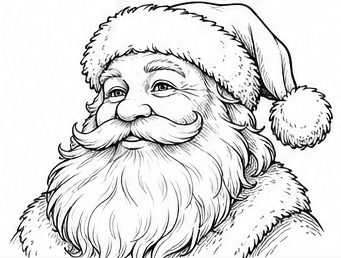
Your drawing after step 6
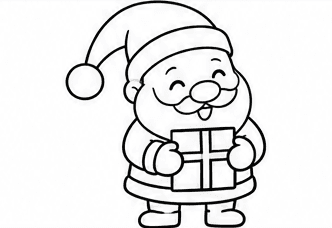
That's it! You have drawn a santa's face.
Trace your favorite lines a little darker, erase any unwanted pencil marks and add color if you would like.