What you need
A pencil, an eraser and a sheet of paper are enough. Draw lightly at first, then trace the lines you want to keep when your christmas tree is finished.
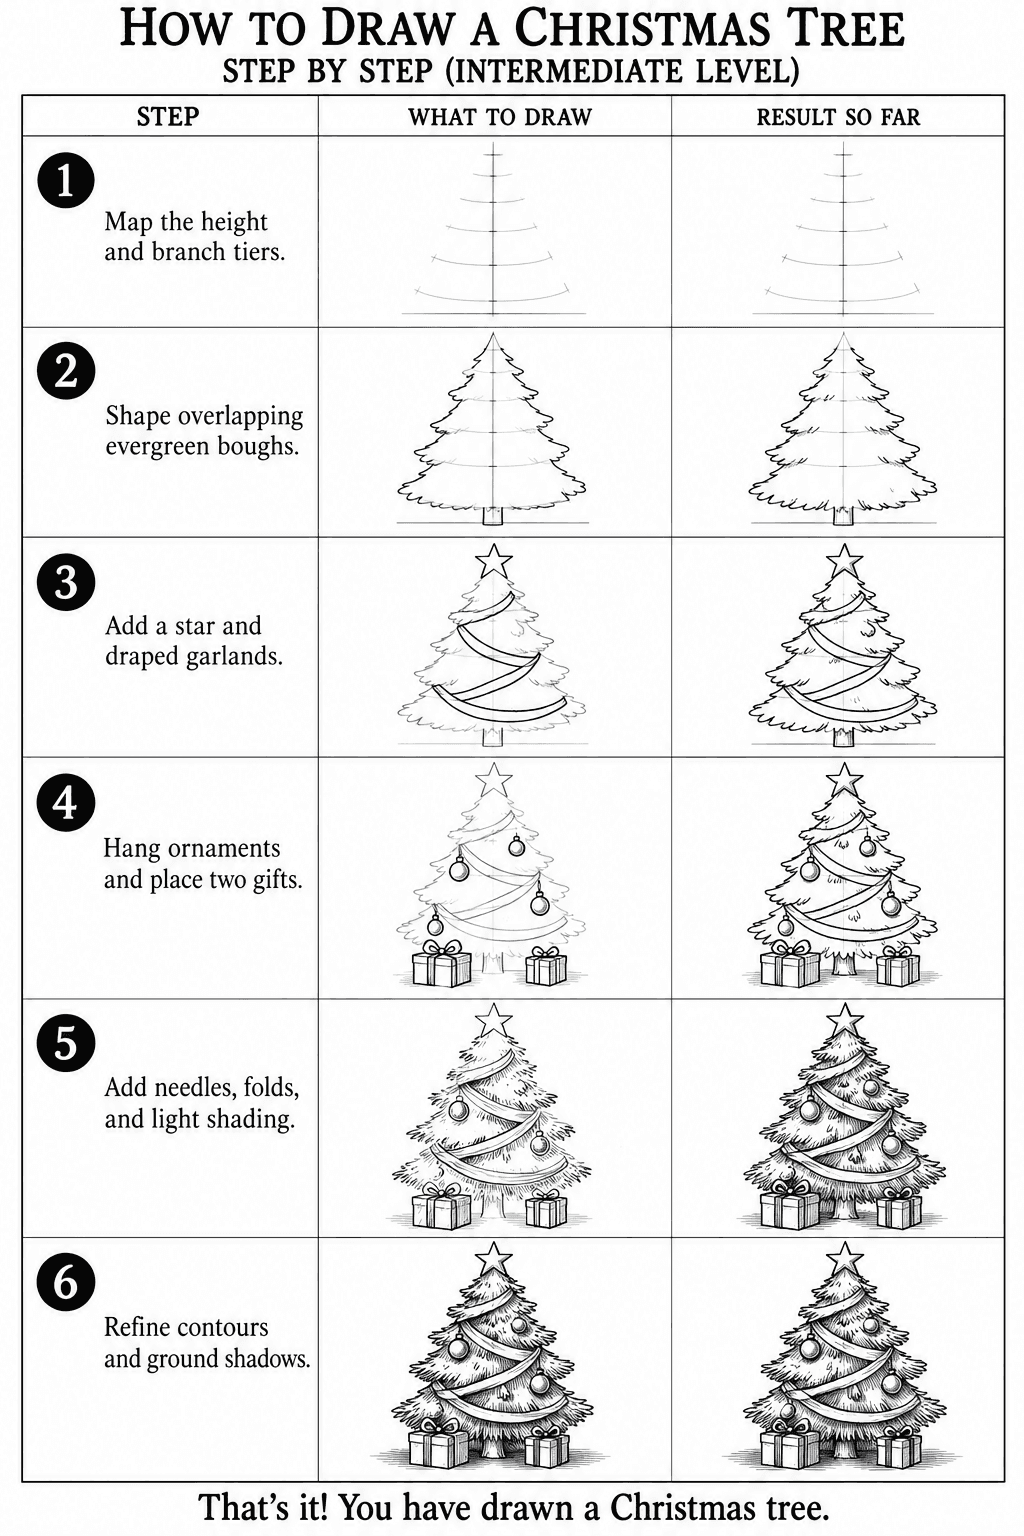
All 6 steps on one sheet
Copy the whole drawing from this sheet, or follow the steps below one at a time.
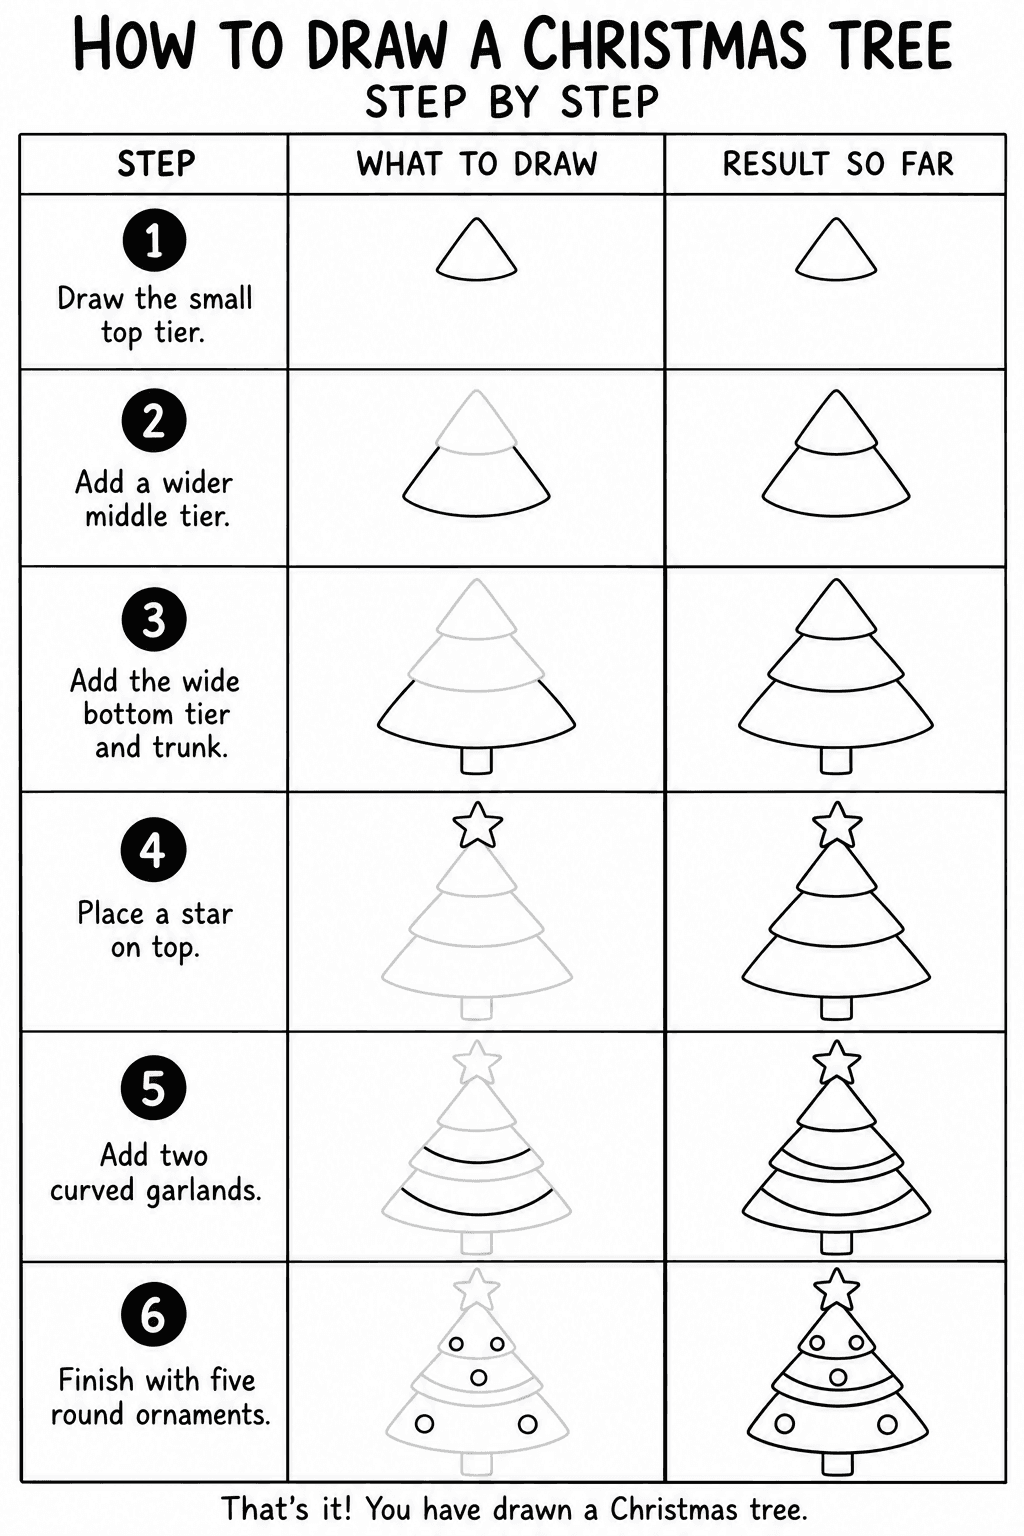
Step 1 of 6
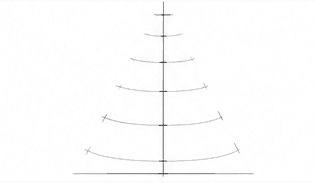
Draw the small top tier
Draw a small triangle with gently rounded corners and a curved bottom edge. Leave room above it for the star and below it for the rest of the tree.
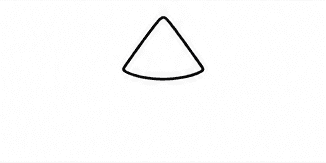
Your drawing after step 1 Step 2 of 6
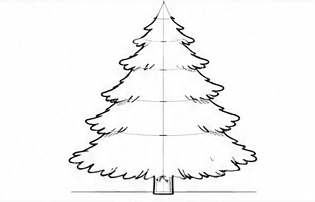
Add a wider middle tier
Draw a wider branch tier beneath the first one. Let its top sit behind the small tier and join the sides with a curved bottom edge.
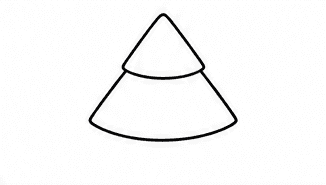
Your drawing after step 2 Step 3 of 6
Add the wide bottom tier and trunk
Add the widest branch tier beneath the middle one. Draw a small rectangular trunk at the bottom, centered under the tree.
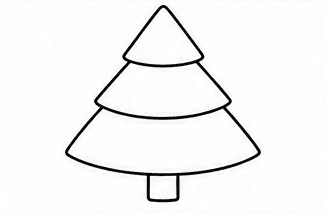
Your drawing after step 3 Step 4 of 6
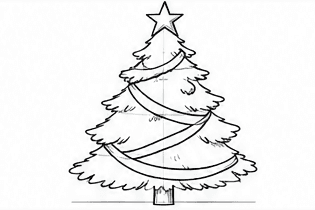
Place a star on top
Draw a small five-point star directly above the tip of the tree. Keep the star simple with one clean outline.
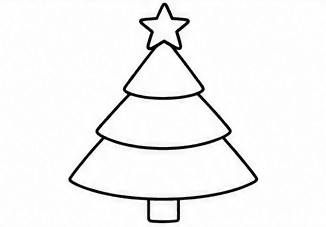
Your drawing after step 4 Step 5 of 6
Add two curved garlands
Draw one gently curved line across the middle tier and another across the bottom tier. These simple curves form the garlands.
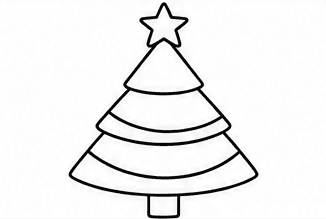
Your drawing after step 5 Step 6 of 6
Finish with five round ornaments
Add five small circles across the branches: two near the top, one in the middle and two near the bottom. Leave space around the garlands so each decoration stays clear.

Your drawing after step 6
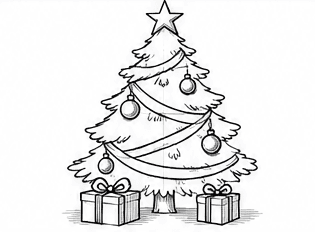
That's it! You have drawn a christmas tree.
Trace your favorite lines a little darker, erase any unwanted pencil marks and add color if you would like.