What you need
A pencil, an eraser and a sheet of paper are enough. Draw lightly at first, then trace the lines you want to keep when your turtle is finished.
Step 1 of 6
Draw the turtle's shell
Start with one large horizontal oval. This is the main shell and the biggest shape in the drawing.
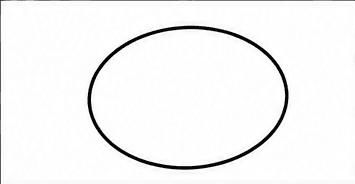
Your drawing after step 1 Step 2 of 6
Add a round head
Draw a smaller circle touching the left side of the shell. Let the two shapes overlap slightly so they feel connected.
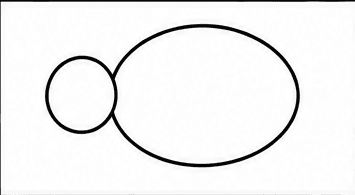
Your drawing after step 2 Step 3 of 6
Draw four turtle flippers
Add four rounded leaf shapes around the shell, with two above and two below. Point each flipper gently away from the body.
Beginner tip: Vary the angles a little while keeping every flipper simple.
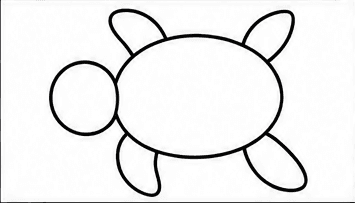
Your drawing after step 3 Step 4 of 6
Add the turtle's face
Draw one round eye and a small curved smile inside the head. Two marks are enough for a friendly expression.
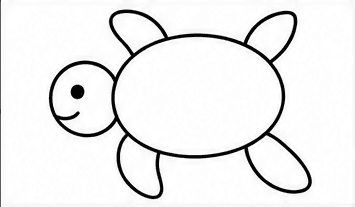
Your drawing after step 4 Step 5 of 6
Create the shell pattern
Draw a simple hexagon in the center of the shell. Connect its corners to the outer oval to form large, easy shell sections.
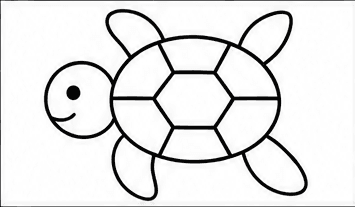
Your drawing after step 5 Step 6 of 6
Finish the flippers
Add two short curved marks inside each flipper. Keep the details sparse so the shell pattern remains the focus.
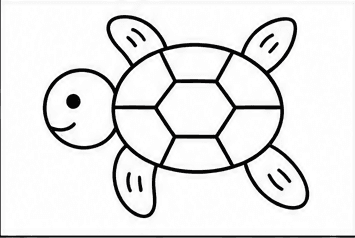
Your drawing after step 6
That's it! You have drawn a turtle.
Trace your favorite lines a little darker, erase any unwanted pencil marks and add color if you would like.