What you need
A pencil, an eraser and a sheet of paper are enough. Draw lightly at first, then trace the lines you want to keep when your fish is finished.
Step 1 of 6
Draw the fish's oval body
Begin with one wide horizontal oval. This simple shape becomes the body and leaves room for the tail and fins.
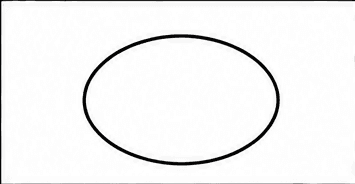
Your drawing after step 1 Step 2 of 6
Add a triangle-shaped tail
Draw two diagonal lines from the right side of the body and join them with an inward bend. This creates a simple fish tail.
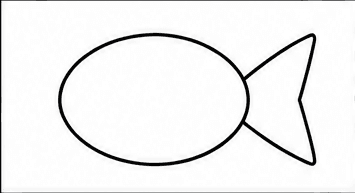
Your drawing after step 2 Step 3 of 6
Draw the eye and mouth
Add one round eye near the front of the oval. Use a short curved line at the edge of the body for a small smiling mouth.
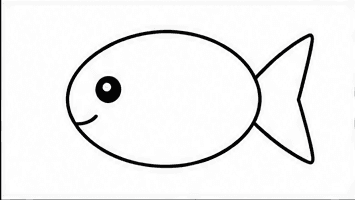
Your drawing after step 3 Step 4 of 6
Add the top and bottom fins
Draw one curved triangular fin above the body and another below it. Keep both fins broad and uncomplicated.
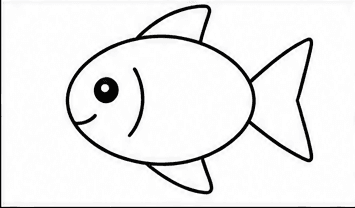
Your drawing after step 4 Step 5 of 6
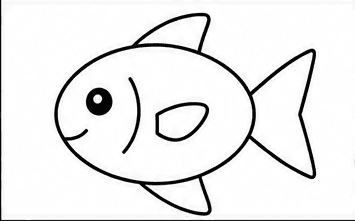
Draw the gill and side fin
Add a curved line behind the face for the gill. Then draw a small rounded fin in the middle of the body.
Beginner tip: Leave plenty of open space for the final scale marks.
Your drawing after step 5 Step 6 of 6
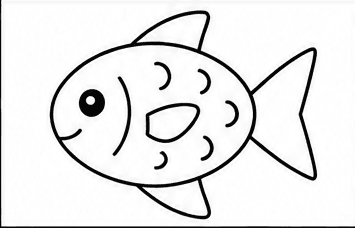
Finish with simple scales
Draw a few small curved lines across the back half of the body. Spread them out instead of filling the entire fish with texture.
Your drawing after step 6
That's it! You have drawn a fish.
Trace your favorite lines a little darker, erase any unwanted pencil marks and add color if you would like.