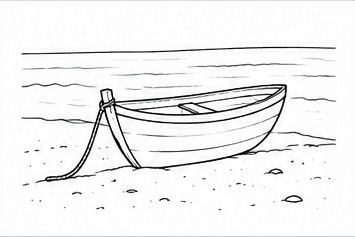
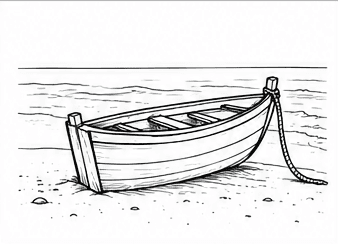
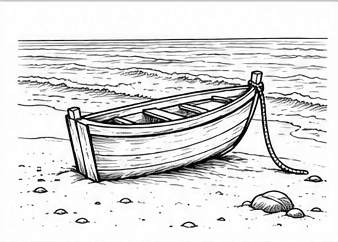
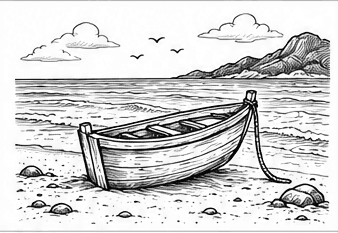
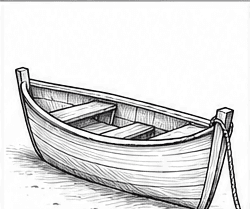
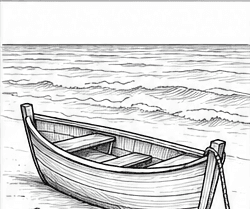
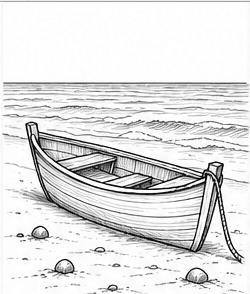
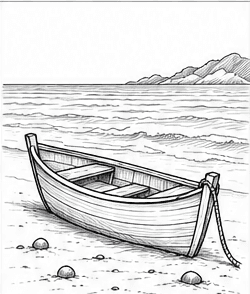
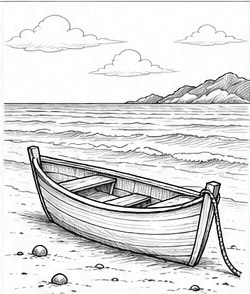
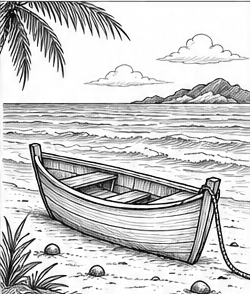
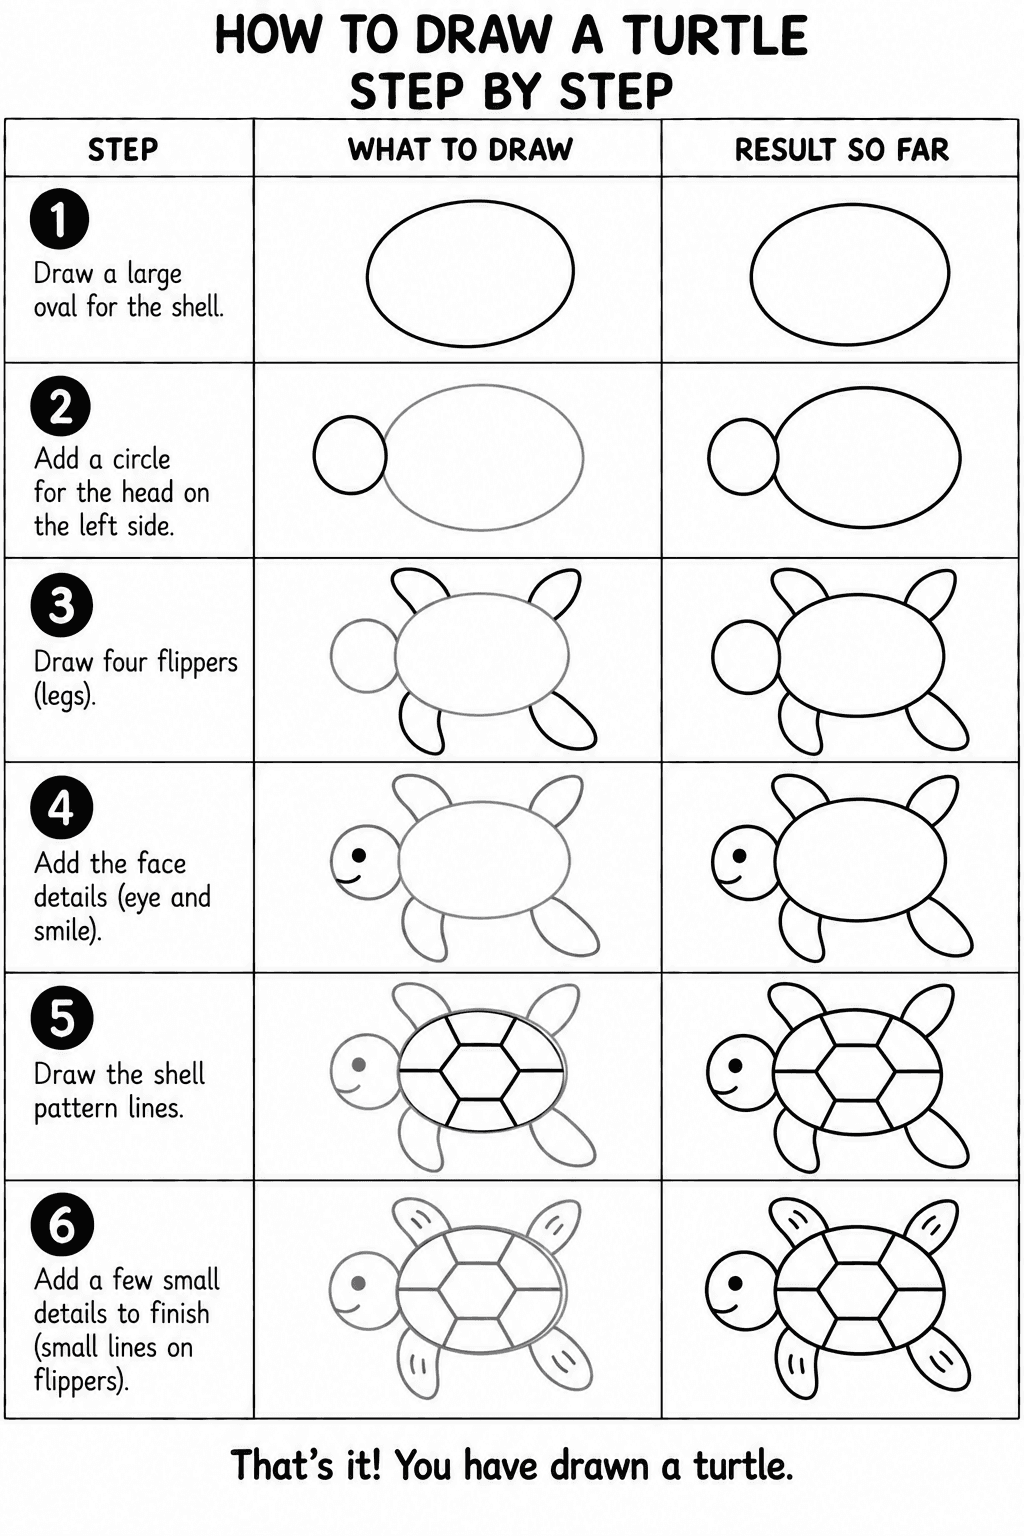
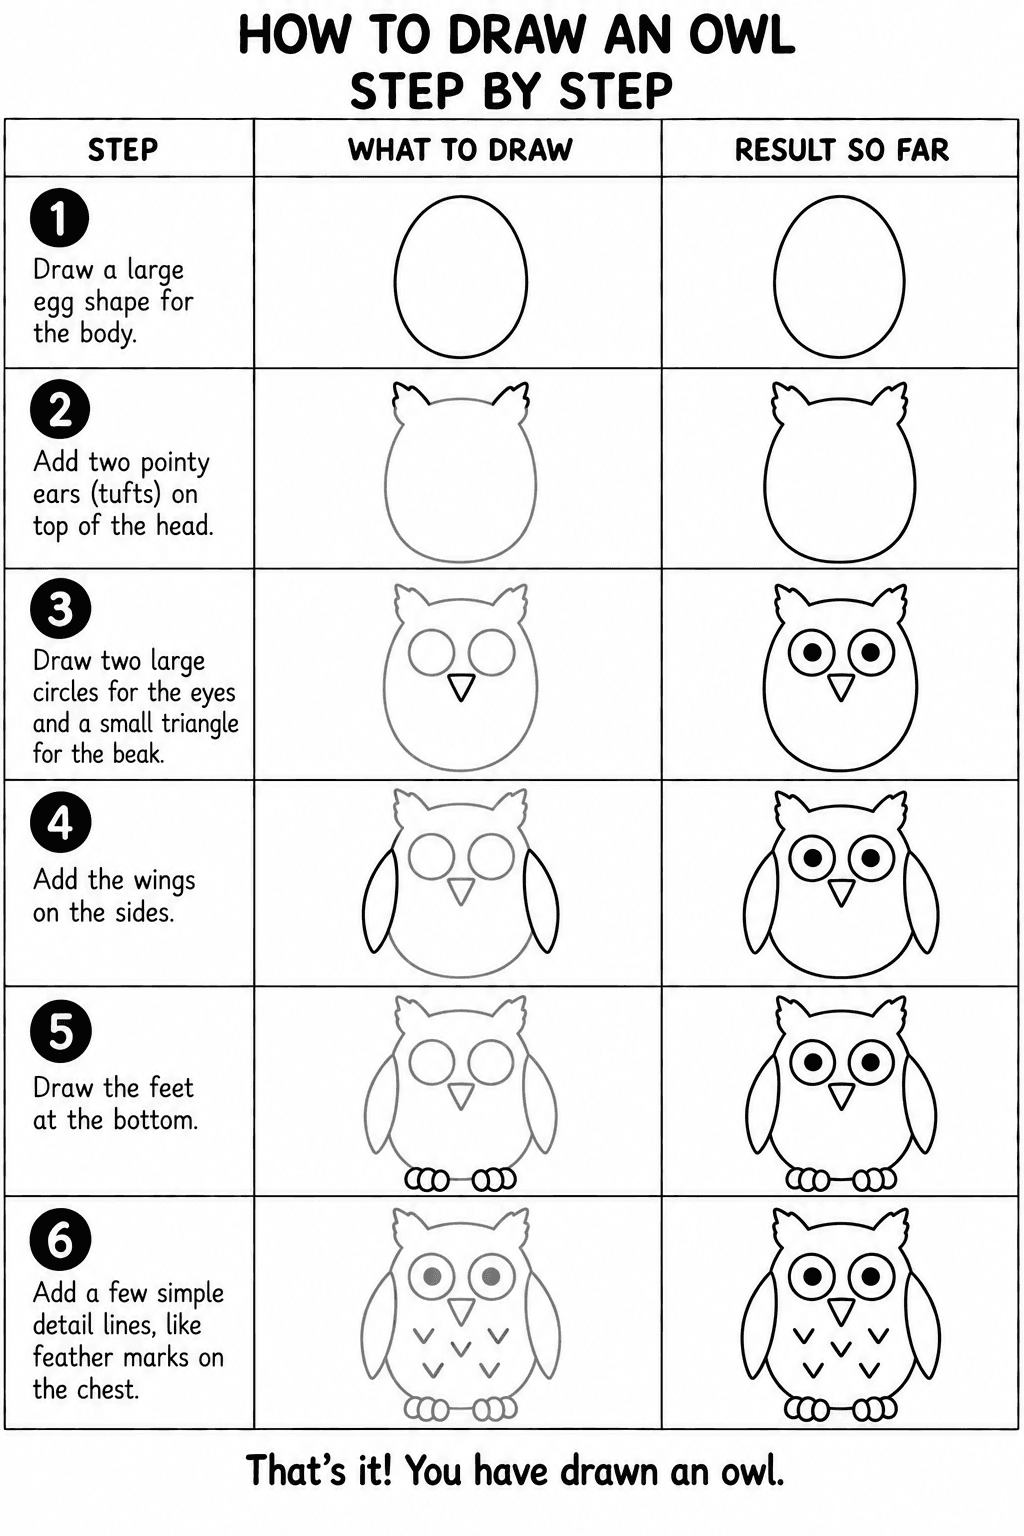
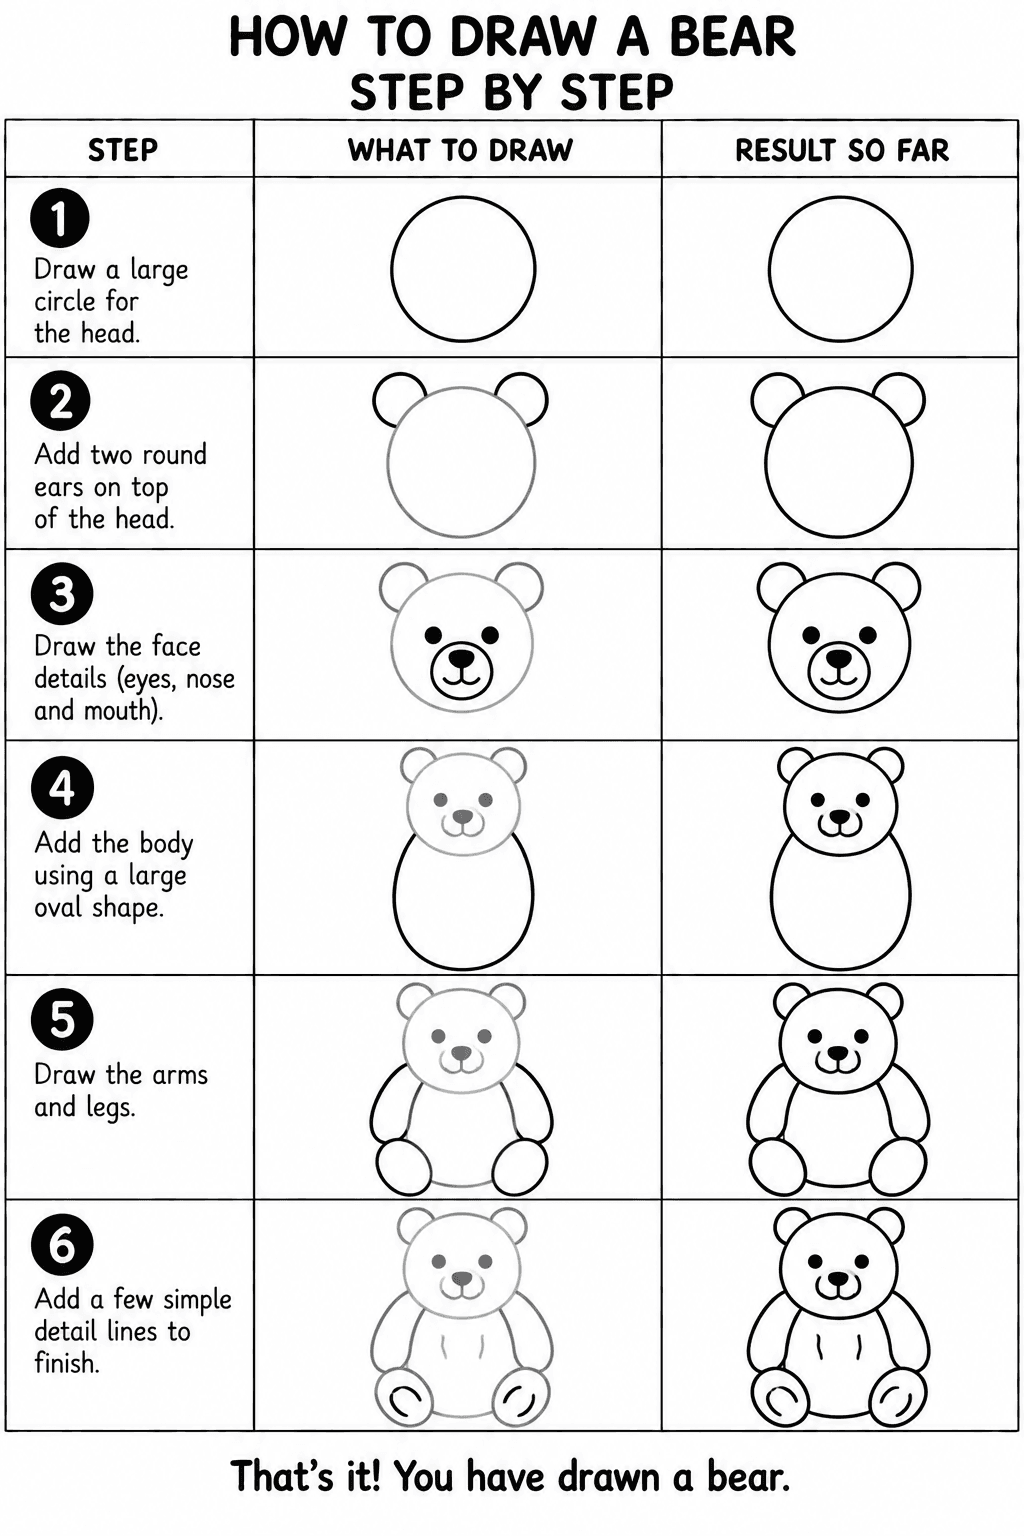
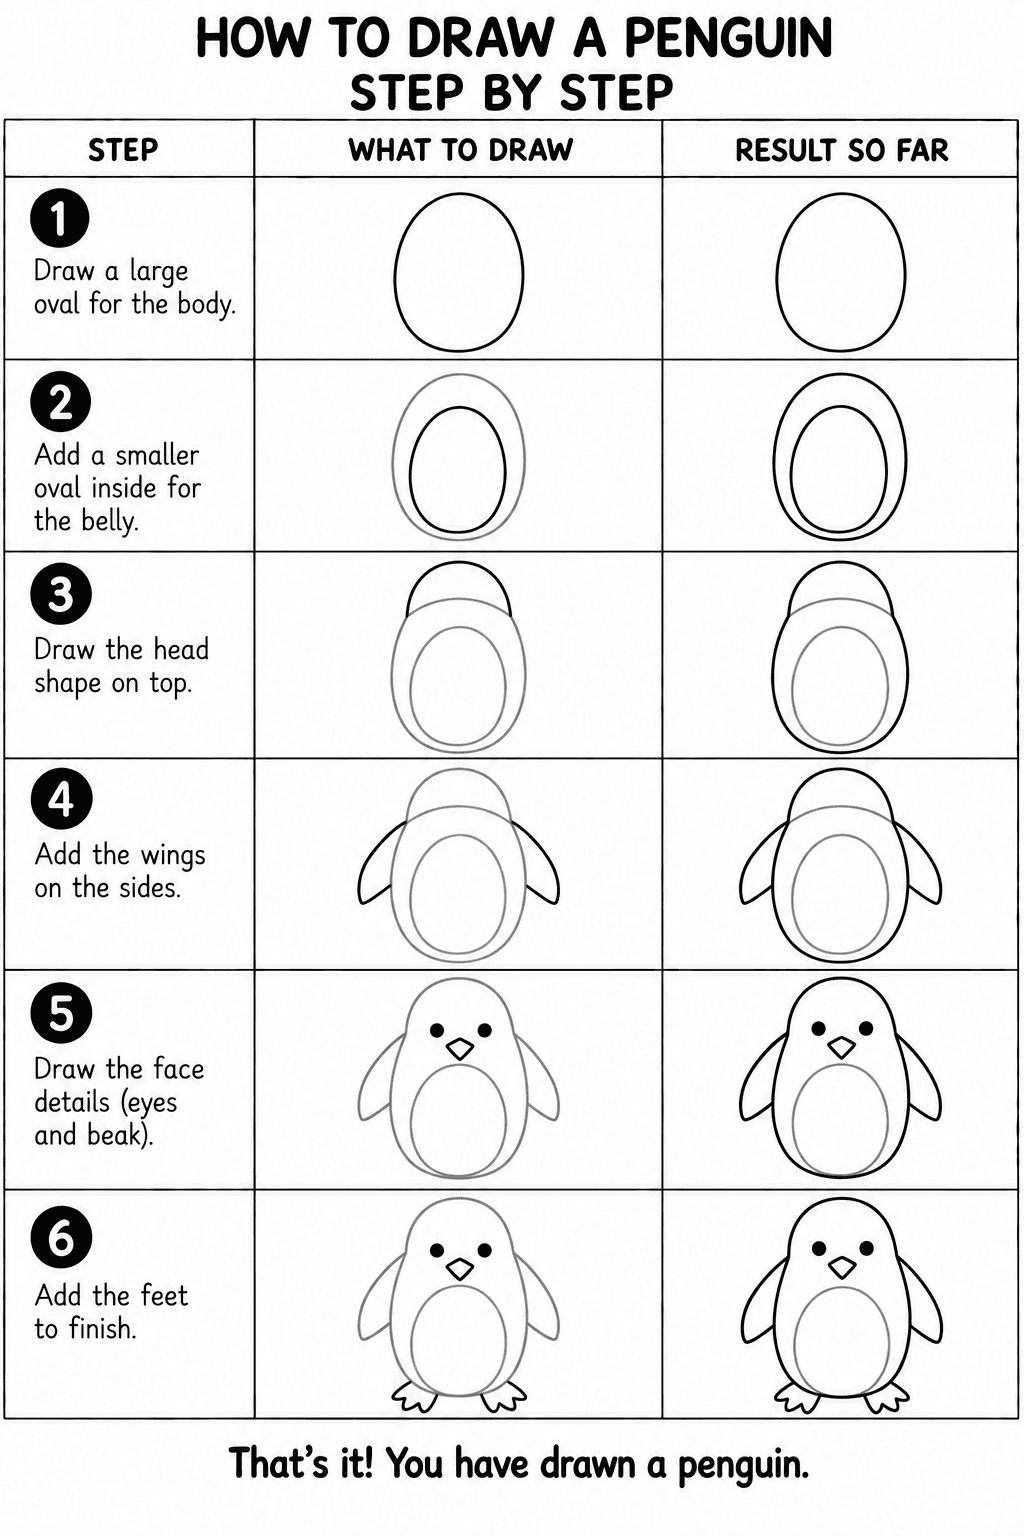
A small boat pulled up on the sand, from a simple outline to weathered planks and a full beach scene.
Beginner boat on a shore
6 steps
A curved horizon, a wavy shoreline and a simple bowl-shaped hull, then the rim, a post with a rope and sand details. Six steps.
What you need
A pencil, an eraser and a sheet of paper are enough. Draw lightly at first, then trace the lines you want to keep when your boat on a shore is finished.
Step 1 of 6
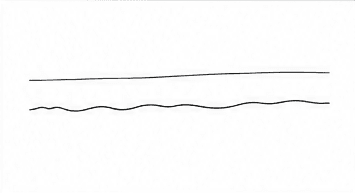
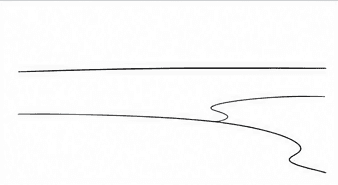
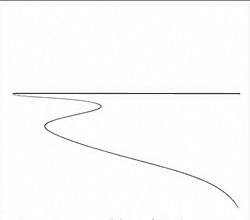
Draw the ocean horizon
Begin with a long, slightly curved horizontal line. This marks the distant ocean and helps you position the boat lower on the page.
Your drawing after step 1
Step 2 of 6
Add the water near the shore
Draw a loose wavy line below the horizon. This second line shows where the shallow water meets the sandy shore.
Beginner tip: Keep the waves small and gentle so they do not compete with the boat.
Your drawing after step 2
Step 3 of 6
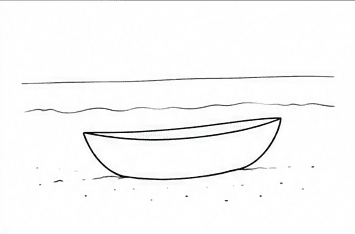
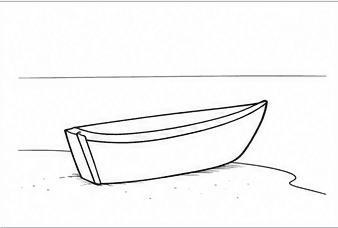
Sketch the boat's basic hull
Draw a wide bowl shape on the sand with slightly pointed ends. Add a shallow curved line across the top to close the hull.
Your drawing after step 3
Step 4 of 6
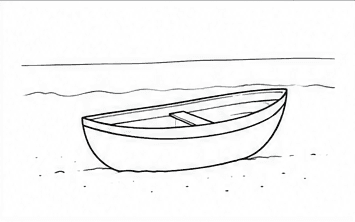
Draw the inside of the boat
Add a second line around the top edge, then draw two simple crossbars inside. These lines give the boat a rim and seats.
Beginner tip: Follow the curve of the hull so the rim feels connected to the same simple shape.
Your drawing after step 4
Step 5 of 6
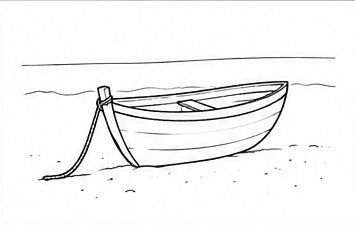
Add the post, rope and hull lines
Draw a short post at the front of the boat and a curved rope reaching the sand. Finish the hull with a few long lines that follow its shape.
Your drawing after step 5
Step 6 of 6
Finish the shore around the boat
Add a few water lines behind the boat and small dots, stones and short marks in the sand. Keep the background simple and open.
Your drawing after step 6
That's it! You have drawn a boat on a shore.
Trace your favorite lines a little darker, erase any unwanted pencil marks and add color if you would like.
Intermediate boat on a shore
6 steps
A curving shoreline, a hull with planks and seats, a rope on the front post, then waves, sand texture, clouds and a distant island. Six steps.
What you need
A pencil, an eraser and a sheet of paper are enough. Draw lightly at first, then trace the lines you want to keep when your boat on a shore is finished.
Step 1 of 6
Draw the horizon and shoreline
Begin with a distant horizontal horizon, then add a long curving shoreline that sweeps toward the right side of the page.
Your drawing after step 1
Step 2 of 6
Sketch the boat's basic hull
Draw a shallow curved boat shape on the sand with a pointed bow. Add a second curve to indicate the inside rim.
Your drawing after step 2
Step 3 of 6
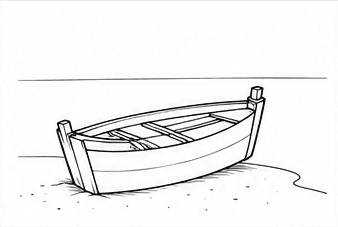
Build the seats and end posts
Refine the hull, add posts at both ends and draw several narrow seats across the inside of the boat.
Your drawing after step 3
Step 4 of 6
Add planks, rope and sand texture
Follow the hull with long plank lines, tie a curved rope to the front post and add a light shadow plus small marks beneath the boat.
Your drawing after step 4
Step 5 of 6
Draw waves and weathered texture
Layer gentle waves behind the boat, add foam near shore and deepen the wood grain, shadow and scattered stones in the sand.
Your drawing after step 5
Step 6 of 6
Complete the coastal background
Finish with clouds, distant land, birds and stronger shading. Keep the boat's outline darkest so it remains the main subject.
Your drawing after step 6
That's it! You have drawn a boat on a shore.
Trace your favorite lines a little darker, erase any unwanted pencil marks and add color if you would like.
Advanced boat on a shore
12 steps
A horizon line and a curving shoreline, the boat outlined over guide lines, then its sides, seats and a rope, shading and wood texture, the water, sand details, a distant island, clouds and final touches such as grass and a palm leaf. Twelve steps, drawn lightly at first.
What you need
A pencil, an eraser and a sheet of paper are enough. Draw lightly at first, then trace the lines you want to keep when your boat on a shore is finished.
Step 1 of 12
Draw the ocean horizon
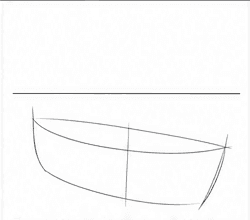
Place a straight horizontal line high enough to leave room for the boat and sandy foreground.
Your drawing after step 1
Step 2 of 12
Sketch the curving shoreline
Draw a long S-shaped line from the left toward the lower right to establish the edge of the water.
Your drawing after step 2
Step 3 of 12
Outline the boat with guides
Use curved lines to block in the hull, then add a center line and light construction marks to check its proportions.
Your drawing after step 3
Step 4 of 12
Define the bow, stern and hull sides
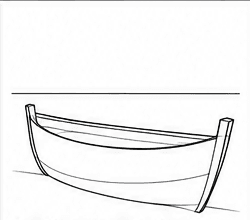
Refine both ends of the boat and connect them with clean upper and lower curves that describe the hull.
Your drawing after step 4
Step 5 of 12
Add the boat's interior seats
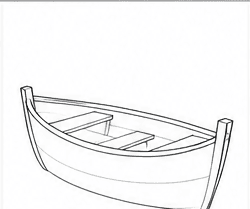
Draw the inner rim and several simple planks spanning the width. Keep their angles consistent with the boat's perspective.
Your drawing after step 5
Step 6 of 12
Refine the boat and attach the rope
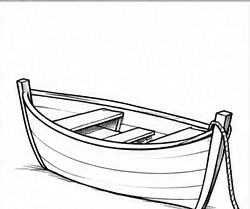
Clean the outline, strengthen the seats and add a rope falling from the front post onto the sand.
Your drawing after step 6
Step 7 of 12
Shade the wood and cast shadow
Use directional pencil strokes to give the planks texture, then draw a soft shadow beneath the hull.
Your drawing after step 7
Step 8 of 12
Draw the ocean behind the boat
Fill the water with layered horizontal waves and small broken foam lines near the shore.
Your drawing after step 8
Step 9 of 12
Texture the sandy foreground
Scatter stones, shells, dots and uneven strokes across the beach. Vary their size to suggest distance.
Your drawing after step 9
Step 10 of 12
Add a distant island
Place a low coastline or island on the horizon and shade it more lightly than the boat.
Your drawing after step 10
Step 11 of 12
Draw clouds and sky details
Add a few loose cloud shapes, keeping the sky open so the detailed boat still dominates the composition.
Your drawing after step 11
Step 12 of 12
Finish the boat-on-shore drawing
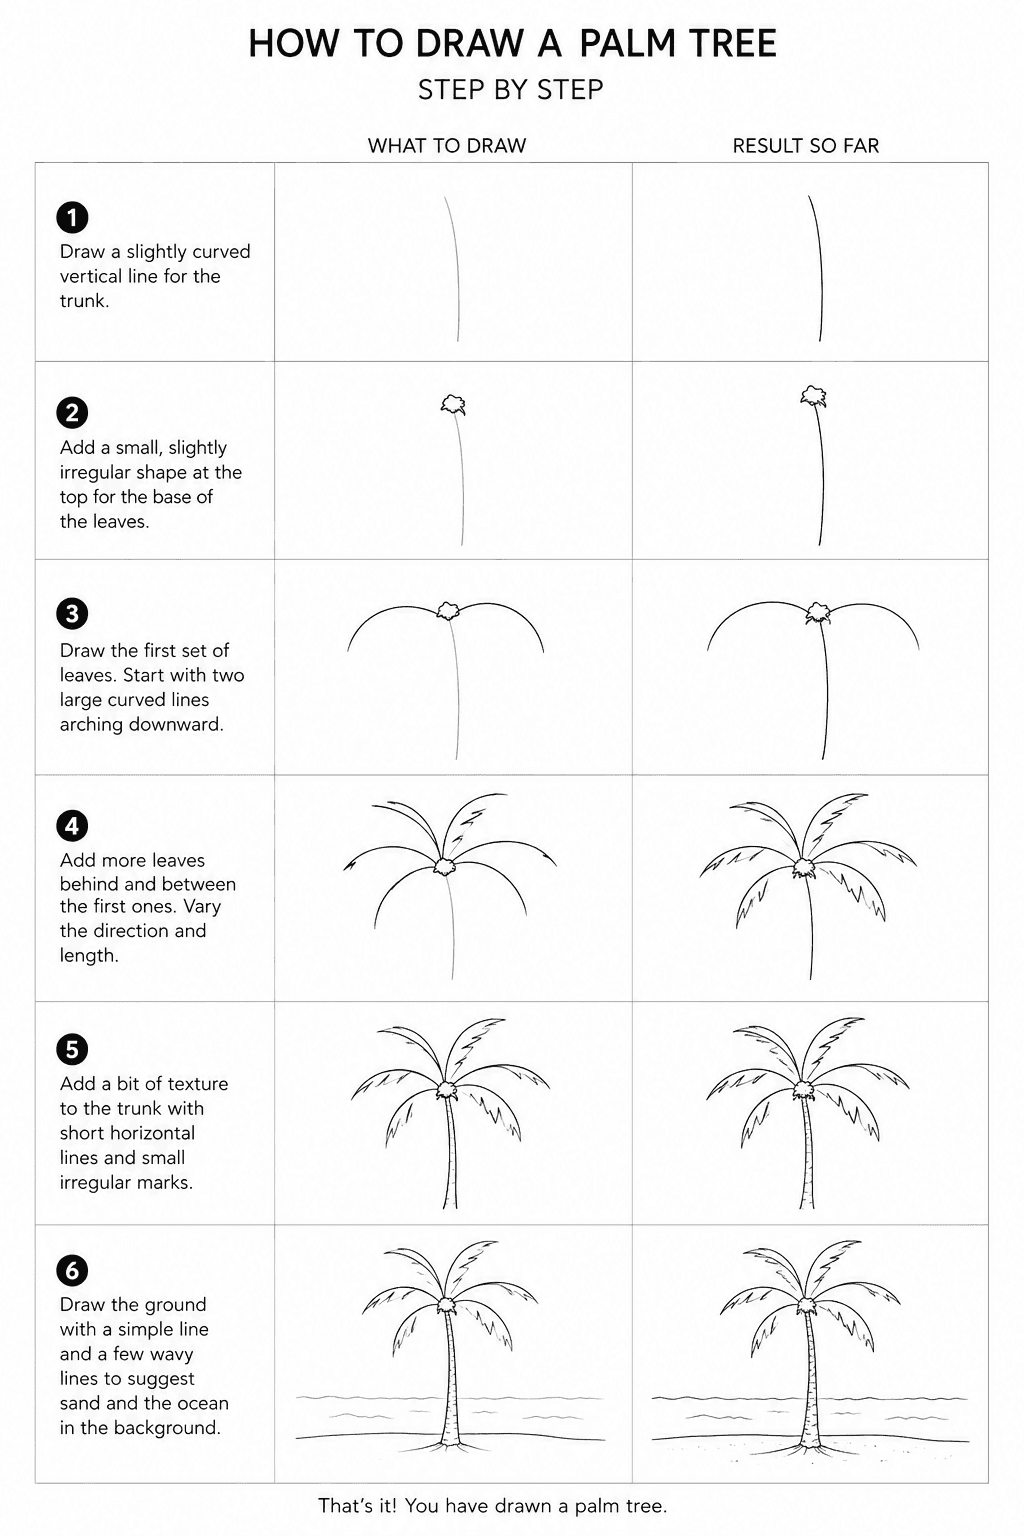
Darken the key contours and add foreground grass or a palm leaf. Erase leftover guides and balance the final shadows.
Your drawing after step 12
That's it! You have drawn a boat on a shore.
Trace your favorite lines a little darker, erase any unwanted pencil marks and add color if you would like.