Skip to content
Easy Drawing

How to draw a dolphin

A leaping dolphin with a curved back, a beak and a friendly smile. Six easy steps that start with one curved line.

Beginner dolphin

6 steps

A curved line for the back and the tail fin, then the head and beak, the dorsal fin and a flipper, the eye and smile line, and a few simple details like a curved line along the side. Six steps.

What you need

A pencil, an eraser and a sheet of paper are enough. Draw lightly at first, then trace the lines you want to keep when your dolphin is finished.

  1. Step 1 of 6

    Draw the dolphin's curved back

    Begin with one long arching line. This simple curve sets the dolphin's body shape and gives it a lively swimming pose.
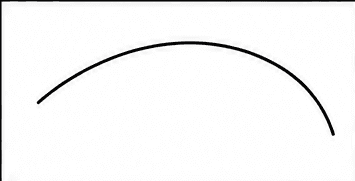
    Step 1: draw the dolphin's curved back when drawing a dolphin
    Your drawing after step 1
  2. Step 2 of 6

    Add the tail fin

    At the back of the curve, draw two pointed leaf shapes that meet in the middle. These form the dolphin's tail.
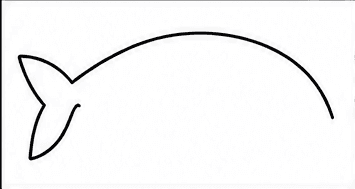
    Step 2: add the tail fin when drawing a dolphin
    Your drawing after step 2
  3. Step 3 of 6

    Shape the head and beak

    Continue the front of the back into a rounded forehead, then extend a short narrow beak. Leave the underside open for now.
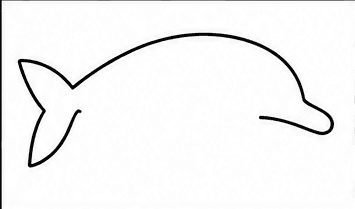
    Step 3: shape the head and beak when drawing a dolphin
    Your drawing after step 3
  4. Step 4 of 6

    Draw the dorsal fin and flipper

    Add a curved triangular fin on top and a longer leaf-shaped flipper underneath. Close the belly with one smooth line.

    Beginner tip: Follow the flow of the body so both fins feel connected to the same curve.
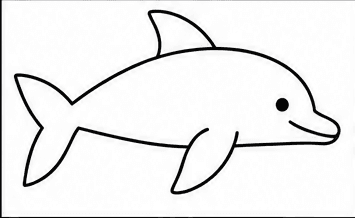
    Step 4: draw the dorsal fin and flipper when drawing a dolphin
    Your drawing after step 4
  5. Step 5 of 6

    Add the eye and smile

    Draw one small round eye and a short curved smile near the beak. These two marks give the dolphin a friendly expression.
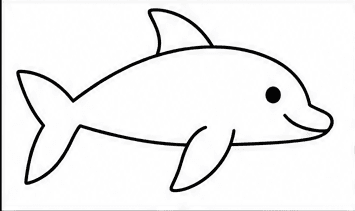
    Step 5: add the eye and smile when drawing a dolphin
    Your drawing after step 5
  6. Step 6 of 6

    Finish the dolphin's side

    Add one long curved detail line along the upper side of the body. Keep the rest of the drawing clean and uncluttered.
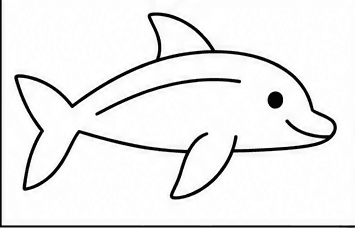
    Step 6: finish the dolphin's side when drawing a dolphin
    Your drawing after step 6

That's it! You have drawn a dolphin.

Trace your favorite lines a little darker, erase any unwanted pencil marks and add color if you would like.
Related tutorials, same category first.

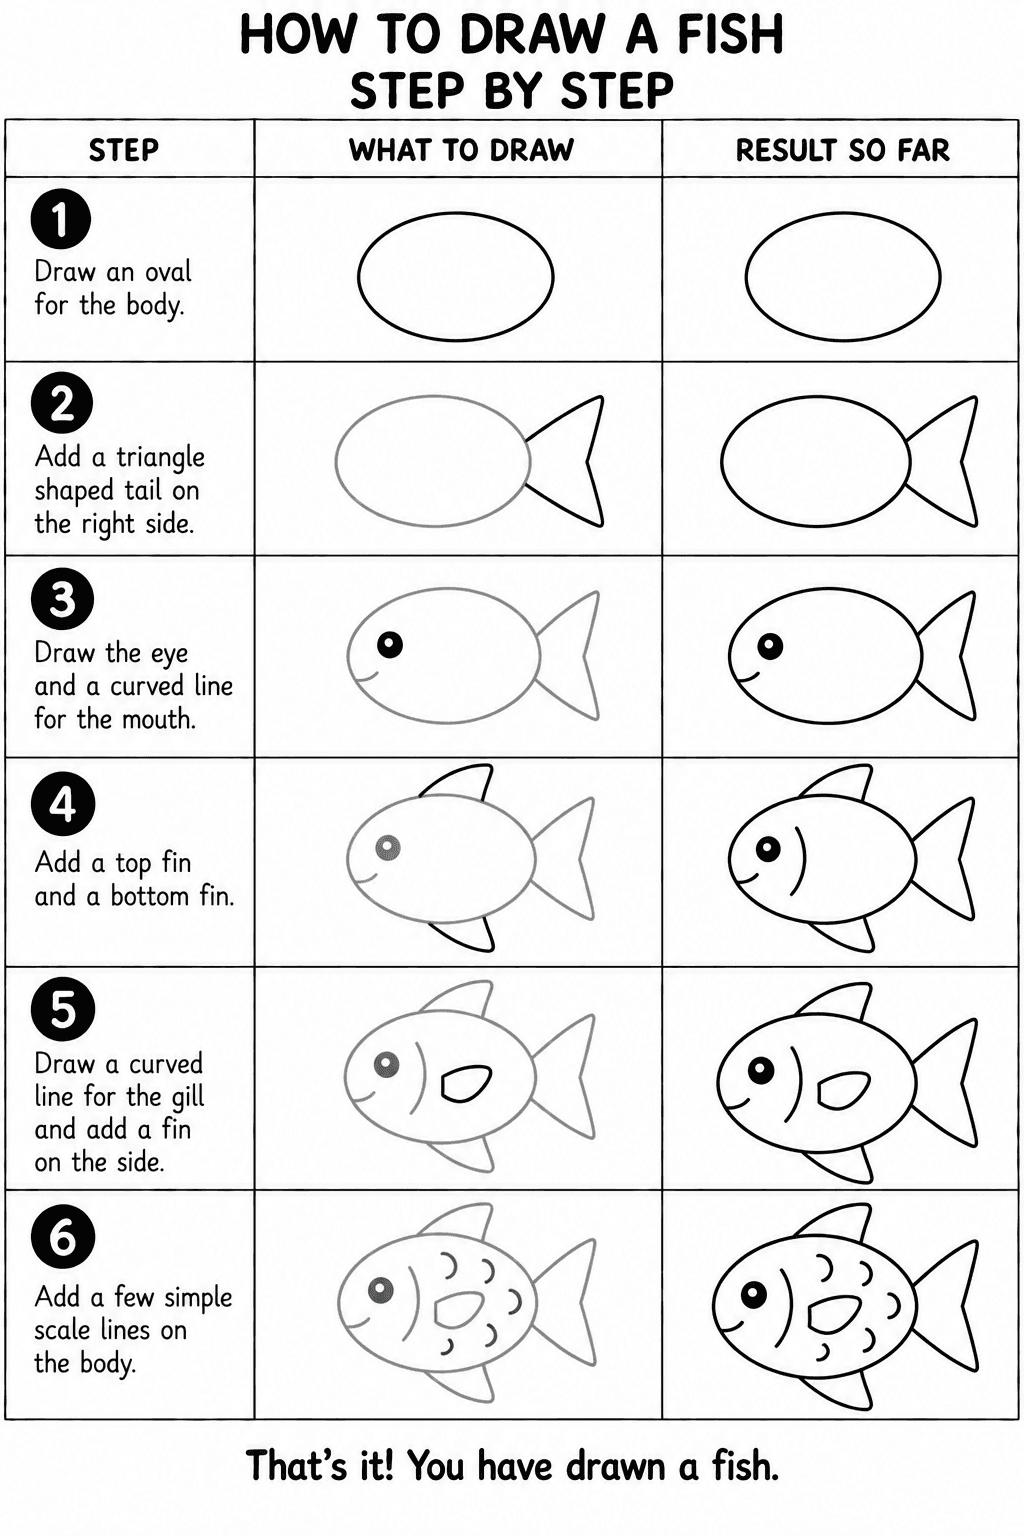
  • Fish drawing tutorial

    Fish

    Animals

    • Beginner, free
    • Intermediate, coming soon
    • Advanced, coming soon
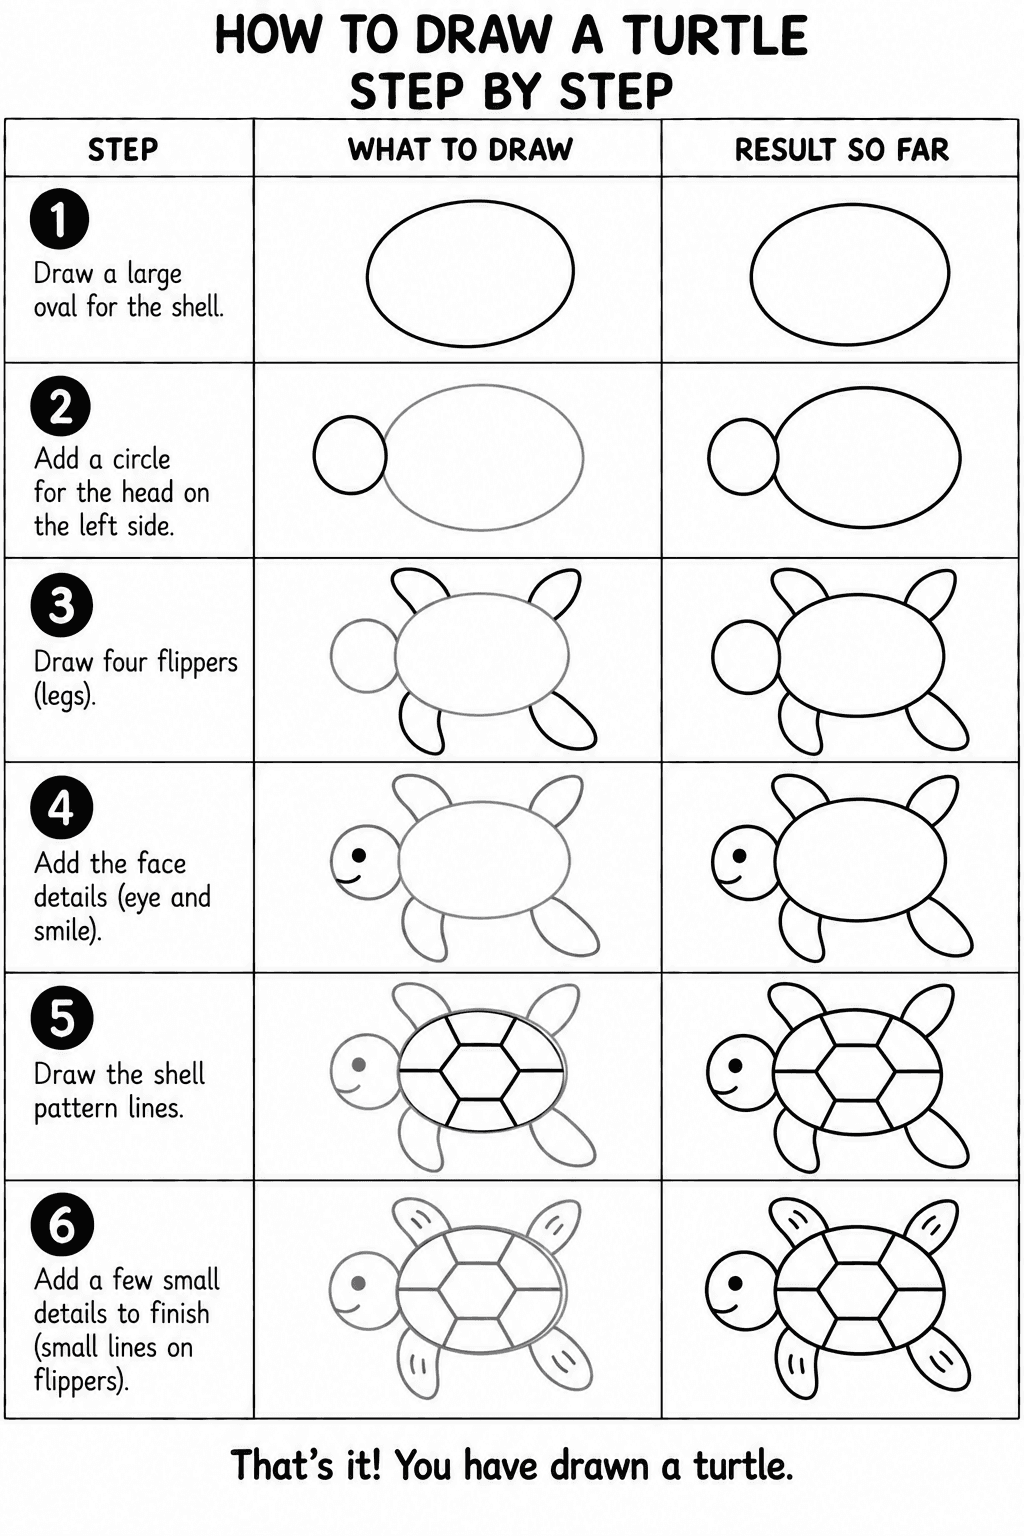
  • Turtle drawing tutorial

    Turtle

    Animals

    • Beginner, free
    • Intermediate, coming soon
    • Advanced, coming soon
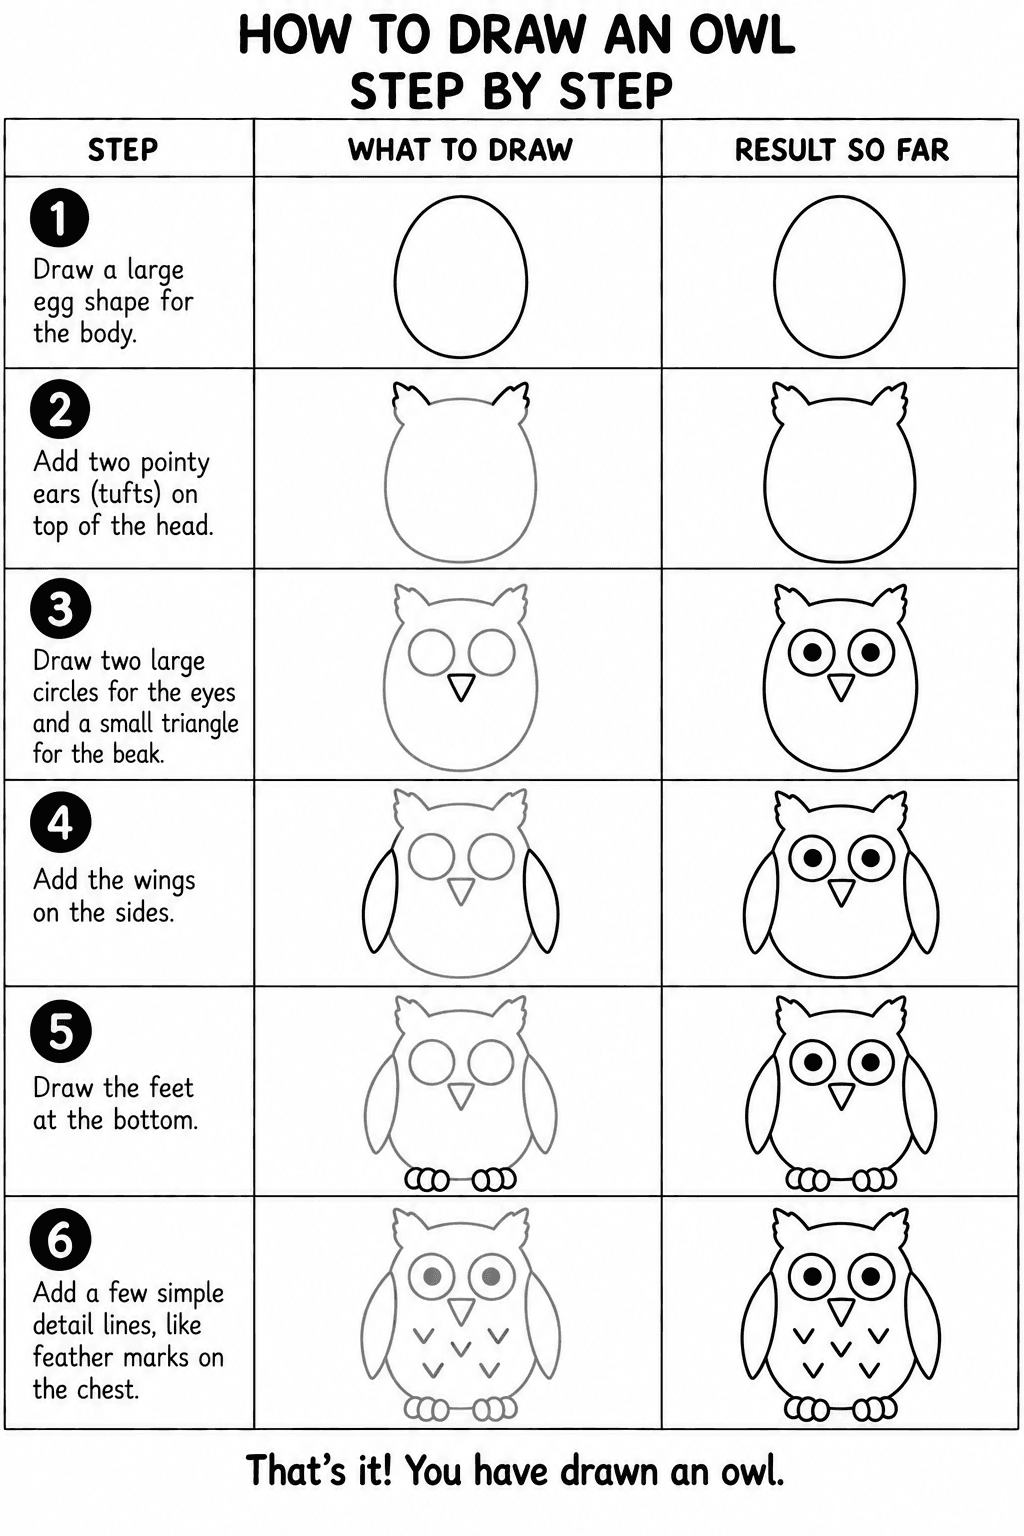
  • Owl drawing tutorial

    Owl

    Animals

    • Beginner, free
    • Intermediate, coming soon
    • Advanced, coming soon
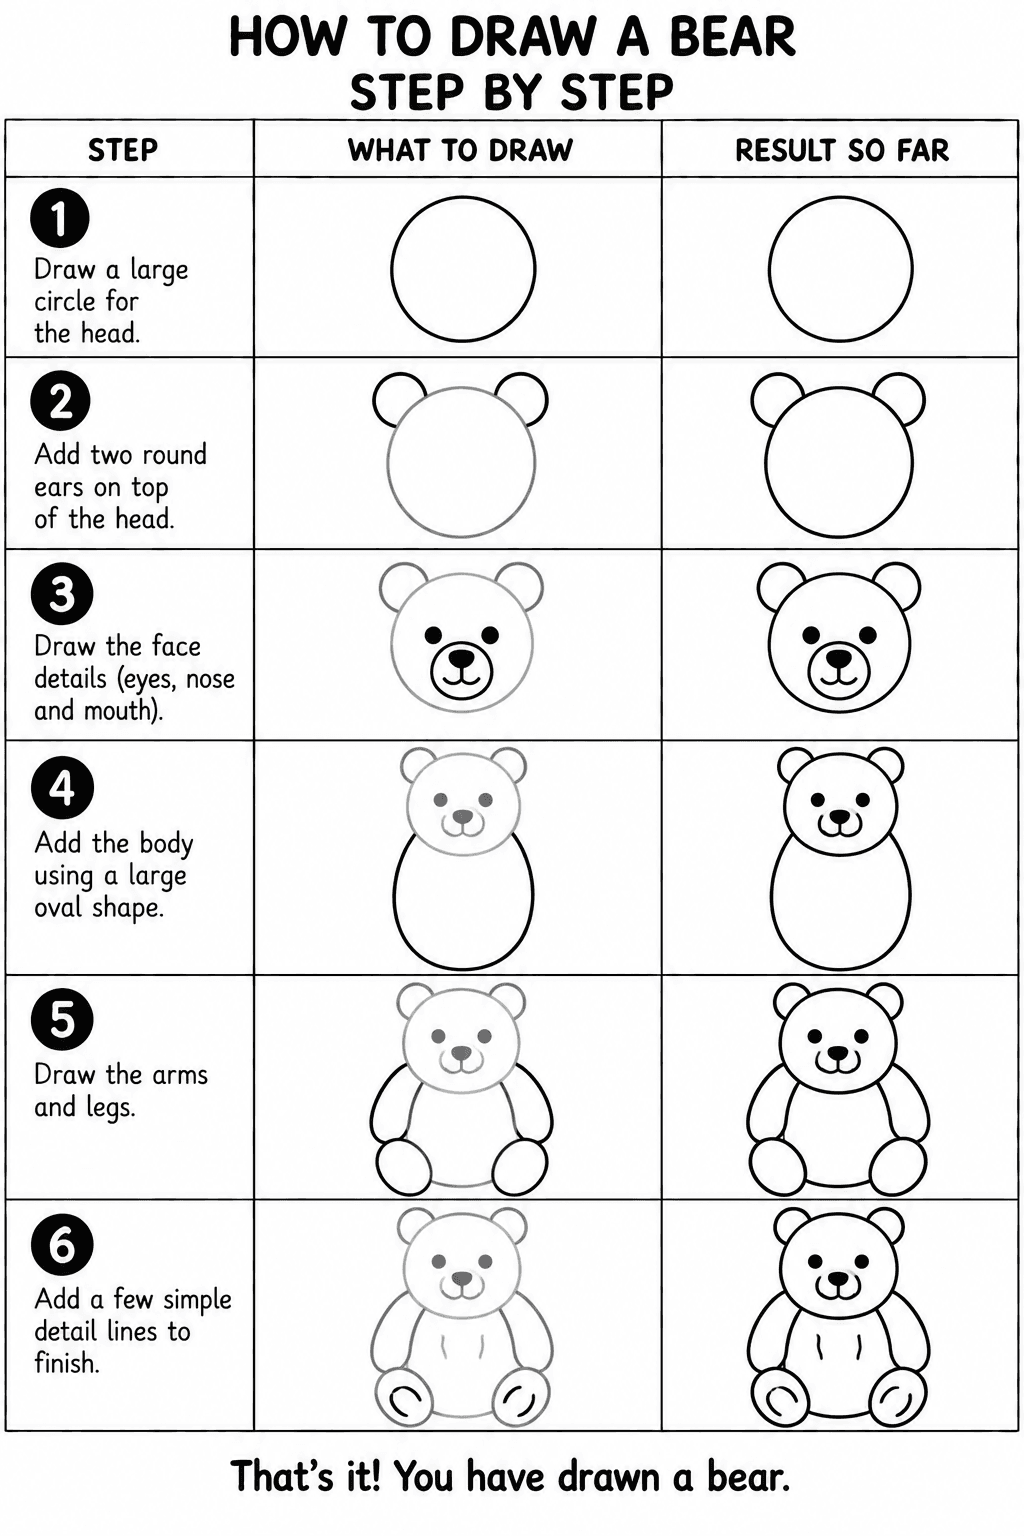
  • Bear drawing tutorial

    Bear

    Animals

    • Beginner, free
    • Intermediate, coming soon
    • Advanced, coming soon
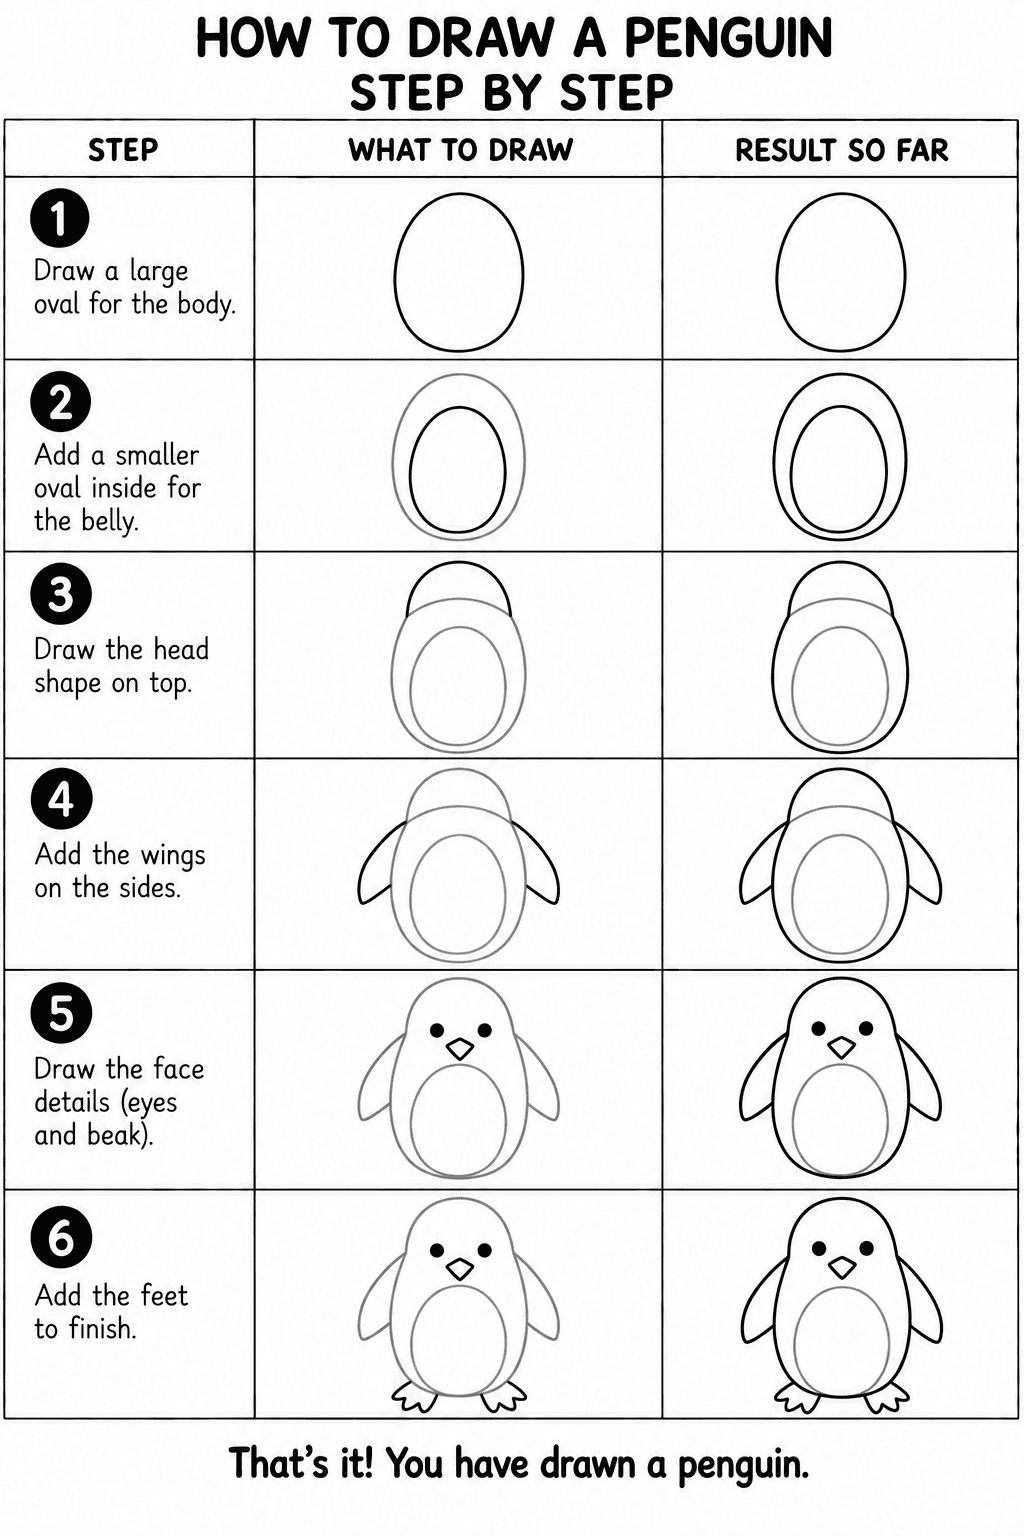
  • Penguin drawing tutorial

    Penguin

    Animals

    • Beginner, free
    • Intermediate, coming soon
    • Advanced, coming soon
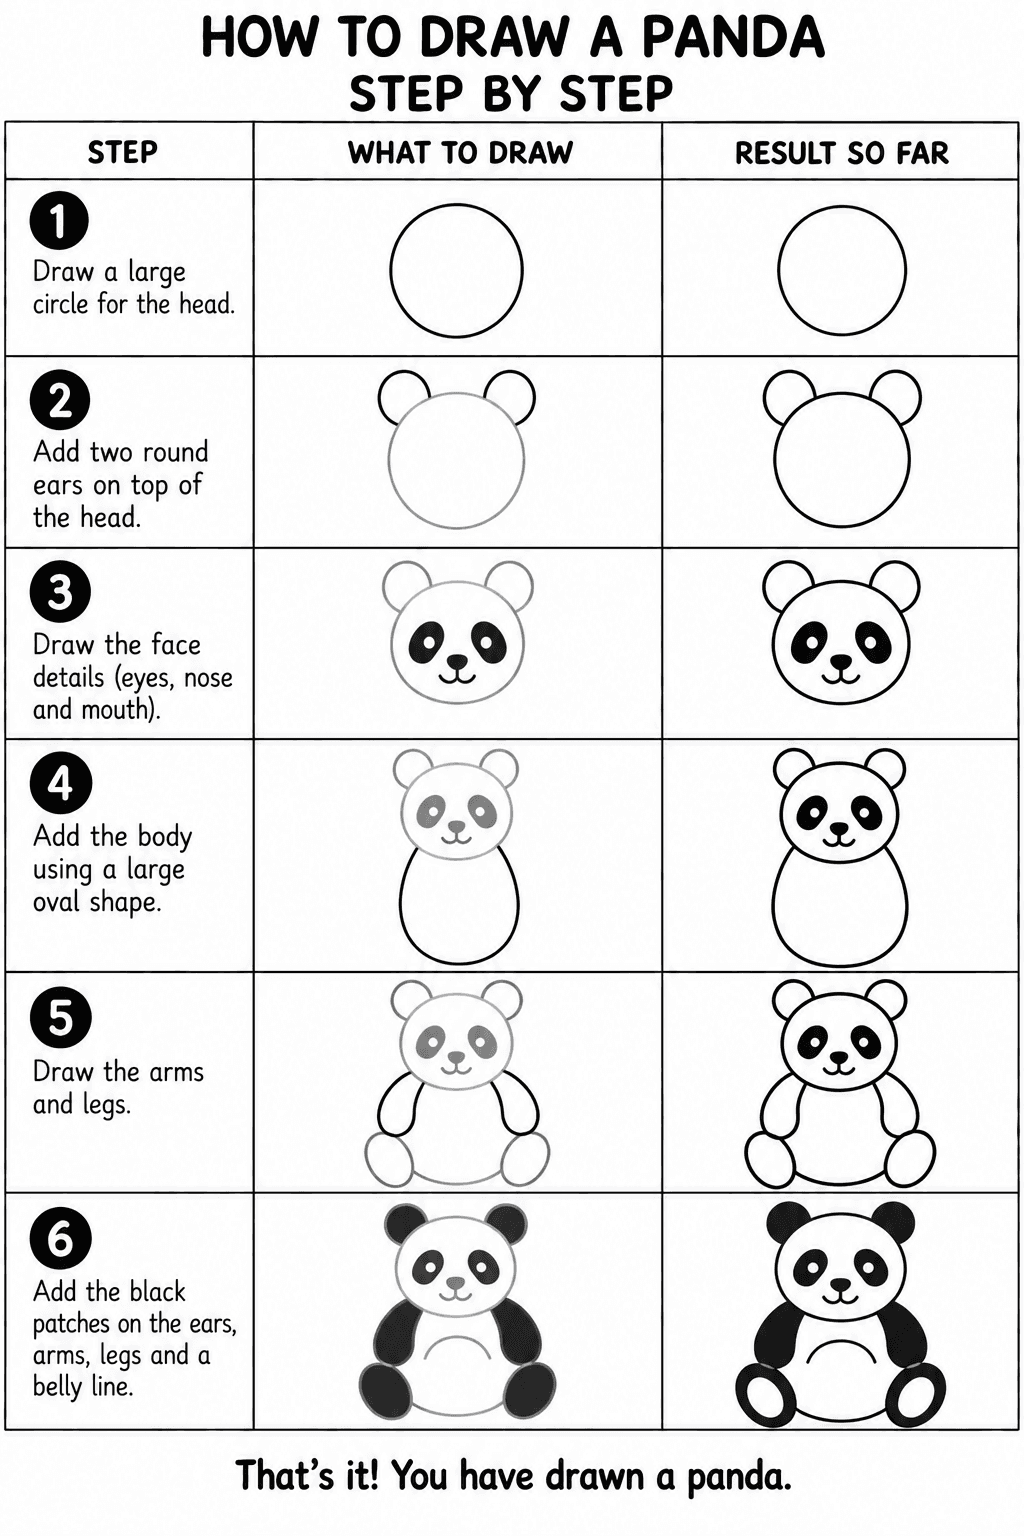
  • Panda drawing tutorial

    Panda

    Animals

    • Beginner, free
    • Intermediate, coming soon
    • Advanced, coming soon
  • Shark drawing tutorial

    Shark

    Animals

    • Beginner, free
    • Intermediate, coming soon
    • Advanced, coming soon
  • Rabbit drawing tutorial

    Rabbit

    Animals

    • Beginner, free
    • Intermediate, coming soon
    • Advanced, coming soon
All tutorials