What you need
A pencil, an eraser and a sheet of paper are enough. Draw lightly at first, then trace the lines you want to keep when your owl is finished.
Step 1 of 6
Draw the owl's egg-shaped body
Start with a large upright egg shape, slightly narrower at the top. This outline forms both the owl's head and body.
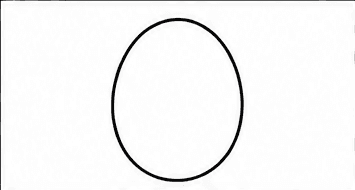
Your drawing after step 1 Step 2 of 6
Add two pointed ear tufts
Replace the rounded top with two small pointed tufts. Use short zigzag-like curves to suggest tiny feathers.
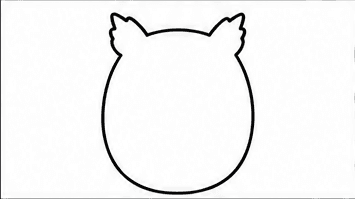
Your drawing after step 2 Step 3 of 6
Draw the eyes and beak
Add two large circles for the eyes with small pupils inside. Place a little downward-pointing triangle between them for the beak.
Beginner tip: Large eyes are the owl's main feature, so give them plenty of space.
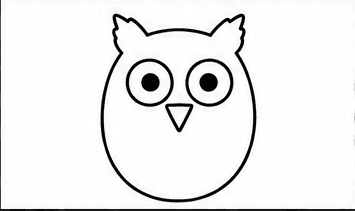
Your drawing after step 3 Step 4 of 6
Add the owl's wings
Draw one long leaf-shaped wing on each side of the body. Keep both wings close to the outline.
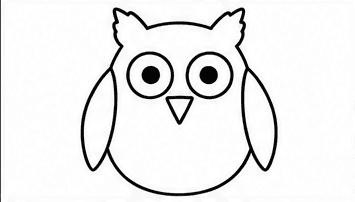
Your drawing after step 4 Step 5 of 6
Draw the feet
Add two small feet at the bottom using three rounded toes on each side. Let the body rest just behind them.
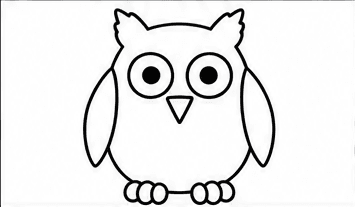
Your drawing after step 5 Step 6 of 6
Finish with feather marks
Draw a few small V-shaped marks down the chest. Space them apart to suggest feathers while keeping the drawing clean.
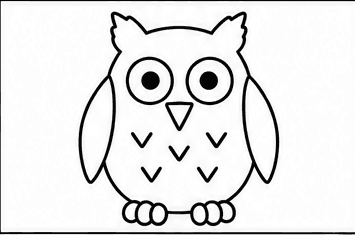
Your drawing after step 6
That's it! You have drawn a owl.
Trace your favorite lines a little darker, erase any unwanted pencil marks and add color if you would like.