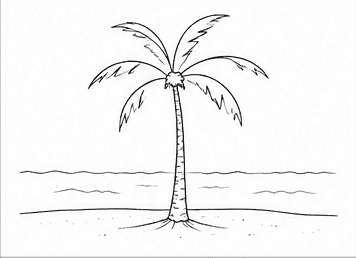
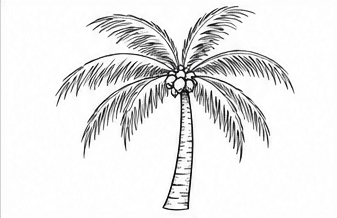
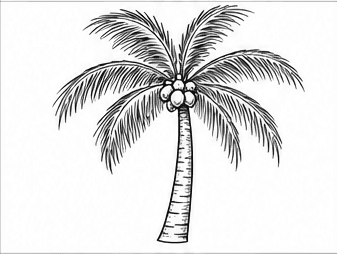
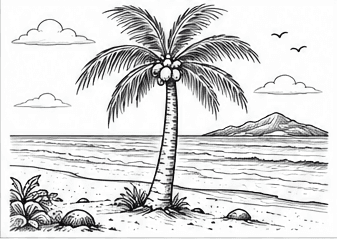
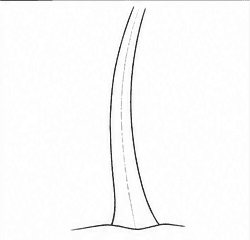
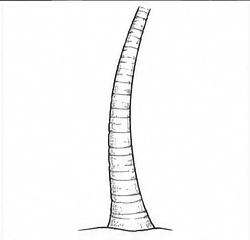
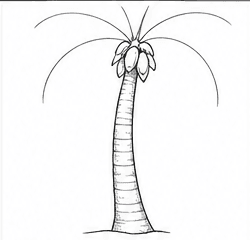
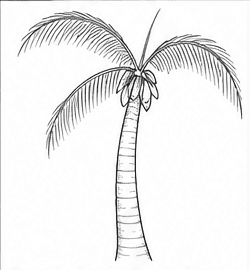
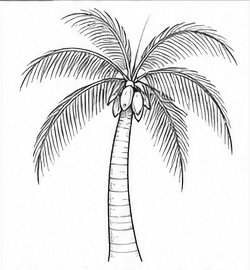
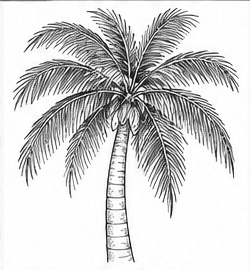
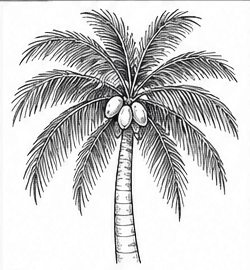
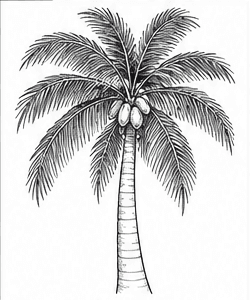
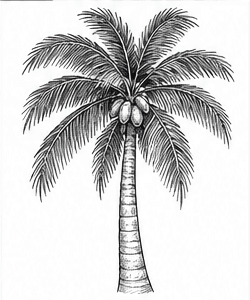
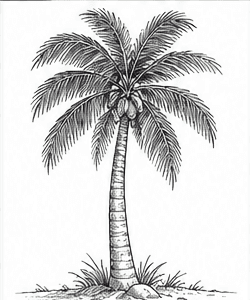
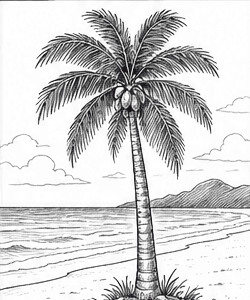
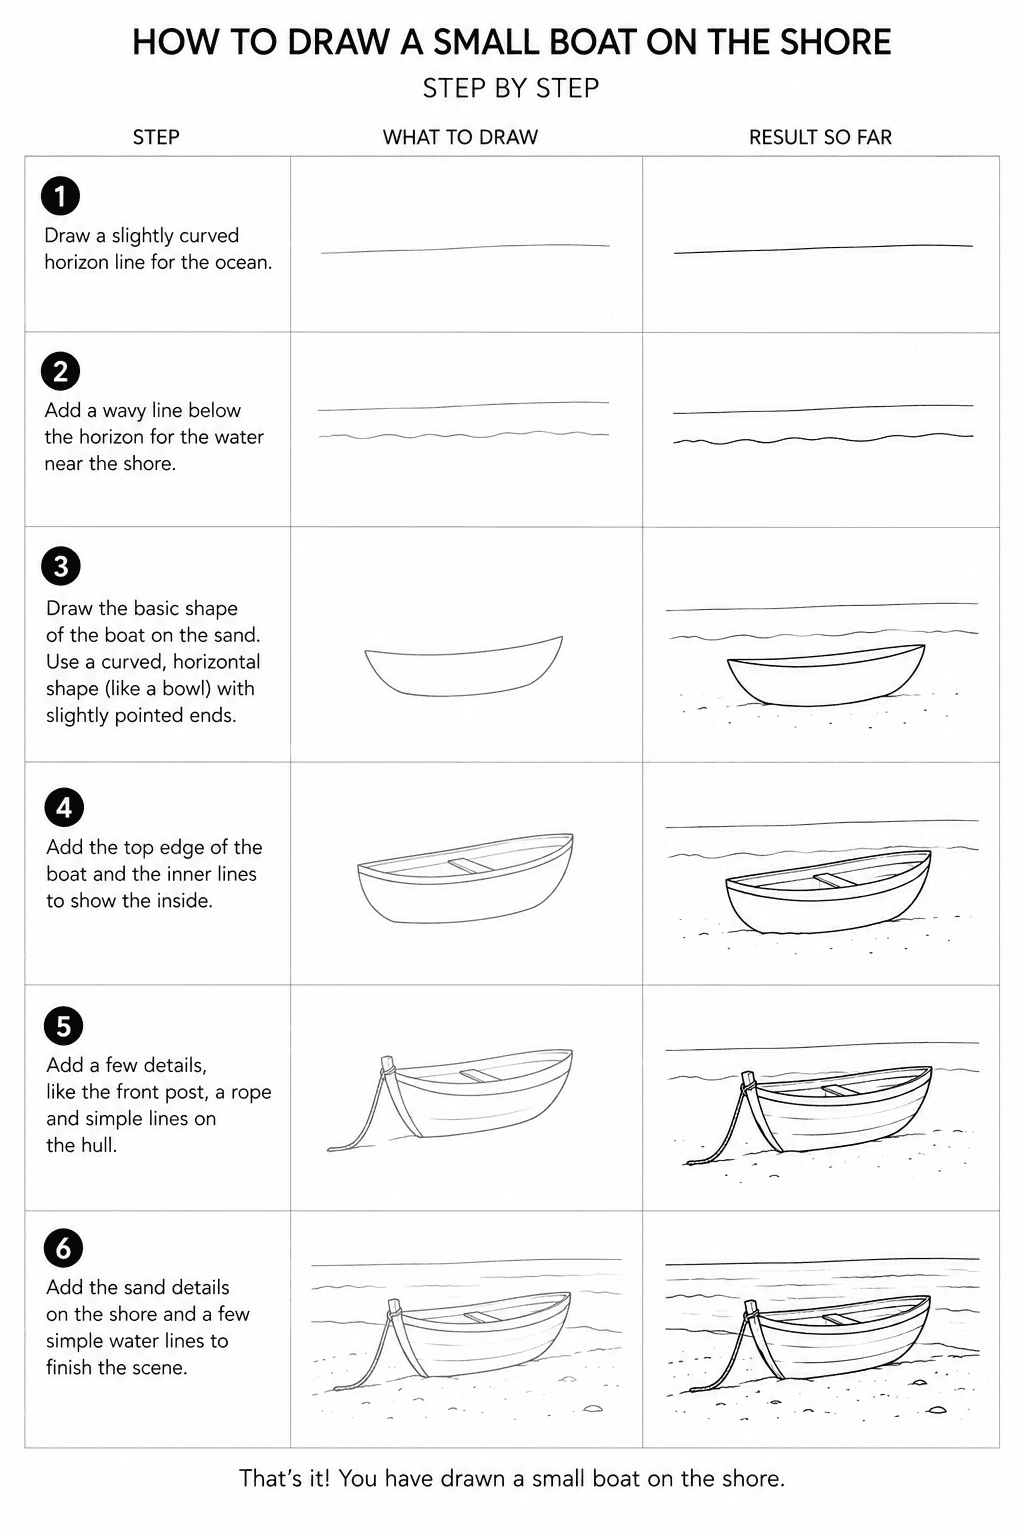
A leaning trunk, a crown of fronds and a few coconuts. The classic tropical tree at three levels of detail.
Beginner coconut tree
6 steps
One curved line for the trunk, a small crown, then the fronds one set at a time. Six steps that end with trunk texture and a simple shoreline.
What you need
A pencil, an eraser and a sheet of paper are enough. Draw lightly at first, then trace the lines you want to keep when your coconut tree is finished.
Step 1 of 6
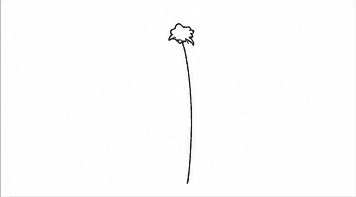
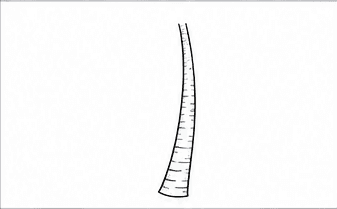
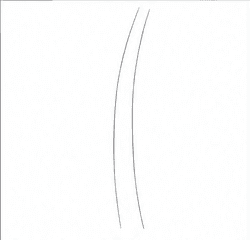
Draw the palm tree trunk
Start with one slightly curved vertical line. This simple guide sets the height and gentle lean of your palm tree.
Beginner tip: Keep the line light so it is easy to adjust before you add the leaves.
Your drawing after step 1
Step 2 of 6
Add the center of the palm leaves
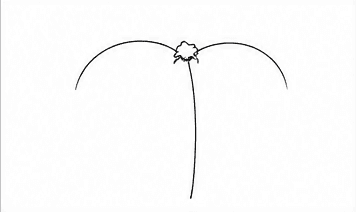
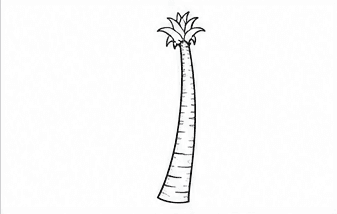
Draw a small, slightly uneven shape at the top of the trunk. This becomes the center where all the palm fronds meet.
Your drawing after step 2
Step 3 of 6
Sketch the first two palm fronds
Add two long curved lines from the crown, one bending left and one bending right. Let both lines arch gently downward.
Beginner tip: Make the two curves different enough to keep the tree looking natural.
Your drawing after step 3
Step 4 of 6
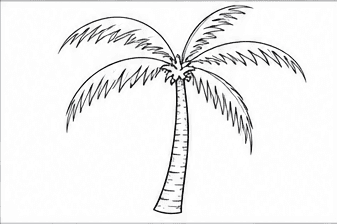
Complete the leafy crown
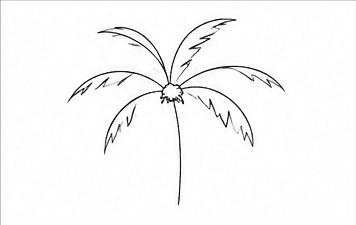
Draw a few more fronds behind and between the first pair. Add simple pointed edges to suggest palm leaves without drawing every leaflet.
Your drawing after step 4
Step 5 of 6
Give the trunk a little texture
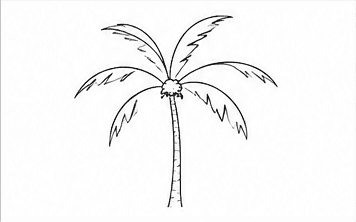
Add a second curved line to give the trunk width. Then draw a few short horizontal marks across it for an easy bark texture.
Beginner tip: Use only a few marks. A simple trunk is clearer and easier for beginners to copy.
Your drawing after step 5
Step 6 of 6
Finish the beach around your palm tree
Draw a simple ground line at the base of the trunk. Finish with a few wavy horizontal lines for sand and calm ocean water.
Your drawing after step 6
That's it! You have drawn a coconut tree.
Trace your favorite lines a little darker, erase any unwanted pencil marks and add color if you would like.
Intermediate coconut tree
6 steps
The same tree with a thicker, tapered trunk, overlapping fronds, leaf strands and a cluster of coconuts. Six steps, finishing with sand, sea and a distant island.
What you need
A pencil, an eraser and a sheet of paper are enough. Draw lightly at first, then trace the lines you want to keep when your coconut tree is finished.
Step 1 of 6
Shape the tapered coconut tree trunk
Draw two gently curved vertical lines that meet more closely at the top. Widen the base and add short curved bands for natural palm bark.
Your drawing after step 1
Step 2 of 6
Build the crown at the top
Add a small cluster of overlapping curved shapes where the trunk ends. This crown base anchors every coconut palm frond.
Your drawing after step 2
Step 3 of 6
Draw the first large palm fronds
Extend three or four long arcing spines from the crown, then add narrow angled leaflets along both sides of each spine.
Your drawing after step 3
Step 4 of 6
Complete the overlapping crown
Add more fronds at different angles and lengths. Let some leaves cross in front of others to give the coconut tree depth.
Beginner tip: Avoid making every frond identical; small differences create a more natural silhouette.
Your drawing after step 4
Step 5 of 6
Add coconuts and leaf texture
Draw a small group of overlapping coconuts beneath the crown. Refine the remaining fronds with thin leaflets and deepen a few trunk bands.
Your drawing after step 5
Step 6 of 6
Finish the tropical beach scene
Ground the tree with sand, stones and small plants. Add calm ocean lines, an island, clouds and a few distant birds to complete the scene.
Your drawing after step 6
That's it! You have drawn a coconut tree.
Trace your favorite lines a little darker, erase any unwanted pencil marks and add color if you would like.
Advanced coconut tree
12 steps
Guide lines, a textured trunk and a full crown built frond by frond, then shading, ground details and a beach background. Twelve steps, drawn lightly at first.
What you need
A pencil, an eraser and a sheet of paper are enough. Draw lightly at first, then trace the lines you want to keep when your coconut tree is finished.
Step 1 of 12
Draw the curved trunk guides
Sketch two long, lightly curved lines to establish the coconut tree's lean and the width of its trunk.
Your drawing after step 1
Step 2 of 12
Shape the coconut tree trunk
Connect and refine the guides, keeping the trunk broad at the ground and gradually narrower toward the crown.
Your drawing after step 2
Step 3 of 12
Add rings and bark texture
Draw irregular horizontal bands and short curved marks across the trunk. Keep the lines uneven to suggest natural bark.
Your drawing after step 3
Step 4 of 12
Create the crown base
Add overlapping leaf bases and coconut shapes at the top, then sketch several long curved guides for the first fronds.
Your drawing after step 4
Step 5 of 12
Draw the first detailed fronds
Build the first palm fronds with many short, angled leaflets. Let the outer leaves droop with gravity.
Your drawing after step 5
Step 6 of 12
Layer more palm fronds
Add fronds behind the first group, changing their length, angle and direction to make the crown feel full.
Your drawing after step 6
Step 7 of 12
Complete the coconut tree crown
Fill the remaining gaps with overlapping fronds. Use a mix of upright, sideways and hanging leaves.
Your drawing after step 7
Step 8 of 12
Define the coconut cluster
Draw overlapping oval coconuts beneath the leaves and strengthen the contour lines around the crown.
Your drawing after step 8
Step 9 of 12
Refine individual leaflets
Go over the fronds with varied curved strokes and erase unused guides. Concentrate detail near the crown and outer edges.
Your drawing after step 9
Step 10 of 12
Shade the trunk, leaves and coconuts
Add controlled pencil shading beneath overlapping fronds and along one side of the trunk while preserving a consistent light direction.
Your drawing after step 10
Step 11 of 12
Add sand and ground plants
Draw a sandy mound around the roots with grasses, small stones and a few fallen leaves to anchor the tree.
Your drawing after step 11
Step 12 of 12
Finish with an ocean background
Add a horizon, rolling water, a distant island and a few clouds. Keep background lines lighter than the finished coconut tree.
Your drawing after step 12
That's it! You have drawn a coconut tree.
Trace your favorite lines a little darker, erase any unwanted pencil marks and add color if you would like.