What you need
A pencil, an eraser and a sheet of paper are enough. Draw lightly at first, then trace the lines you want to keep when your rabbit is finished.
Step 1 of 6
Draw the rabbit's head
Start with a simple circle. This becomes the rabbit's head and gives you a clear center for the long ears and face.
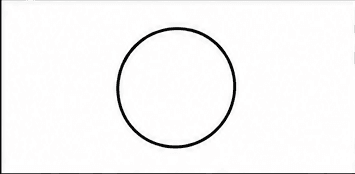
Your drawing after step 1 Step 2 of 6
Add two long rabbit ears
Draw two tall, narrow oval shapes rising from the top of the head. Let each ear curve slightly outward.
Beginner tip: The ears do not need to match perfectly; a small difference makes the rabbit feel natural.
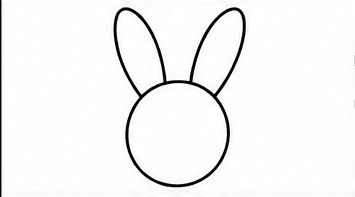
Your drawing after step 2 Step 3 of 6
Draw the rabbit's face
Add two round eyes, a small nose and a short curved mouth. Finish the face with three simple whiskers on each side.
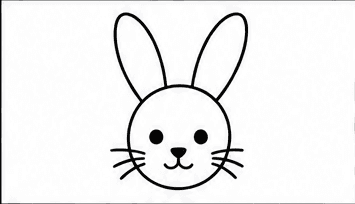
Your drawing after step 3 Step 4 of 6
Add the oval body
Draw a large horizontal oval behind the head. Overlap the two shapes so the rabbit looks like it is sitting sideways.
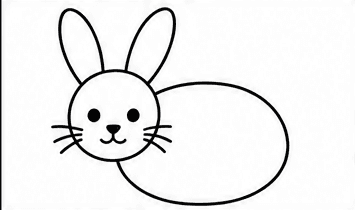
Your drawing after step 4 Step 5 of 6
Draw the legs and paws
Use short curved lines for the two front legs and one large bend for the back leg. Add small toe marks to finish the paws.
Beginner tip: Keep the paws rounded and close to the body for an easy sitting pose.
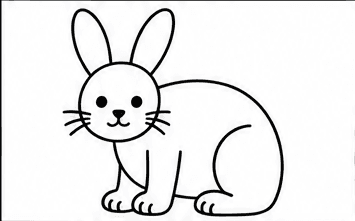
Your drawing after step 5 Step 6 of 6
Finish with a fluffy tail
Draw a small cloud-like circle at the back of the body. A few rounded bumps are enough to make the tail look soft and fluffy.
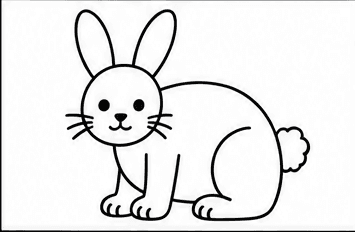
Your drawing after step 6
That's it! You have drawn a rabbit.
Trace your favorite lines a little darker, erase any unwanted pencil marks and add color if you would like.