What you need
A pencil, an eraser and a sheet of paper are enough. Draw lightly at first, then trace the lines you want to keep when your shark is finished.
Step 1 of 6
Draw the shark's body
Draw a long fish-shaped oval with a pointed nose. Keep the top and bottom curves broad and simple.
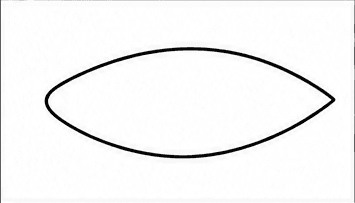
Your drawing after step 1 Step 2 of 6
Add the tail fin
Draw two outward curves at the back of the body and join them at a narrow center. This creates the shark's strong tail fin.
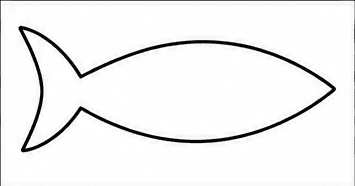
Your drawing after step 2 Step 3 of 6
Draw the top and bottom fins
Add one triangular dorsal fin on top and a smaller curved fin underneath. Place both near the middle of the body.
Beginner tip: Use only two fins at this stage so the silhouette stays easy to read.
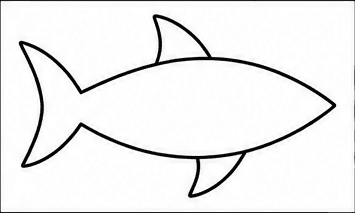
Your drawing after step 3 Step 4 of 6
Add the shark's eye and mouth
Draw one round eye near the pointed nose. Add a curved open mouth and a few simple triangles for teeth.
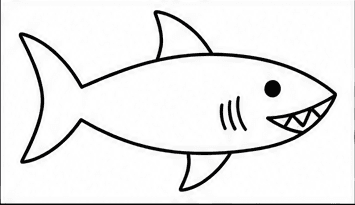
Your drawing after step 4 Step 5 of 6
Draw three gill slits
Place three short curved lines behind the shark's head. Keep them parallel and evenly spaced.
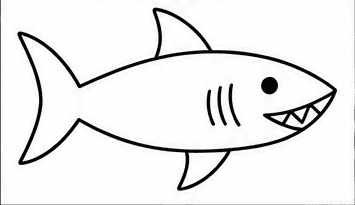
Your drawing after step 5 Step 6 of 6
Finish with a side detail
Add one gentle curved line along the shark's side. This final mark suggests the body contour without adding complicated texture.
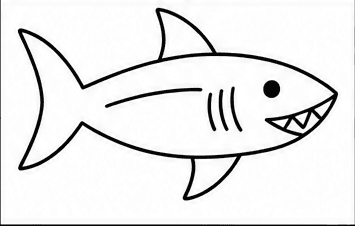
Your drawing after step 6
That's it! You have drawn a shark.
Trace your favorite lines a little darker, erase any unwanted pencil marks and add color if you would like.