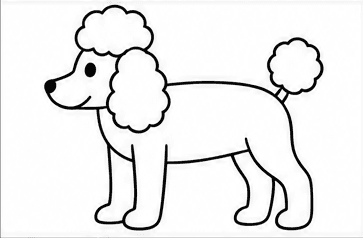
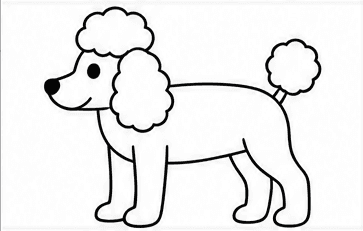
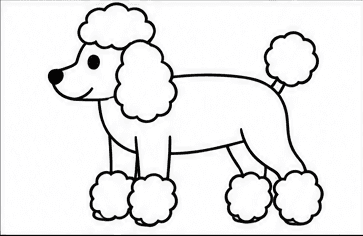
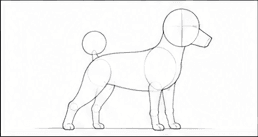
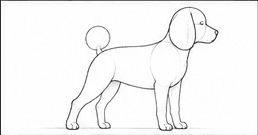
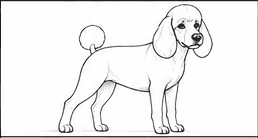
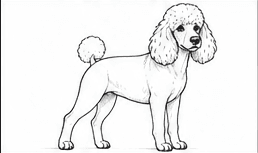
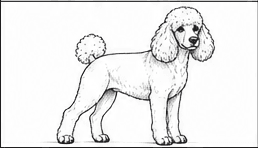
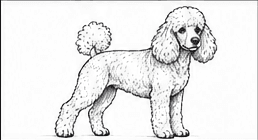
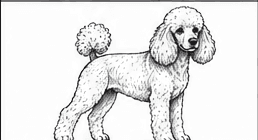
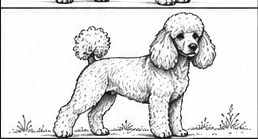
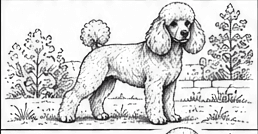
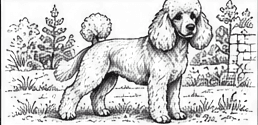
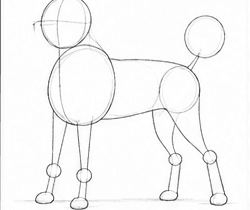
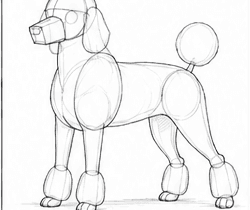
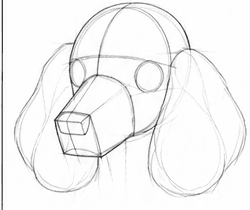
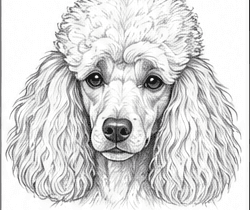
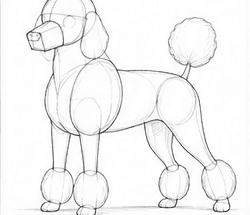
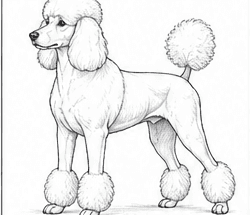
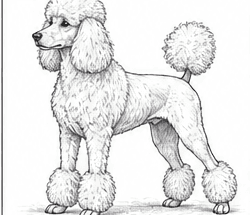
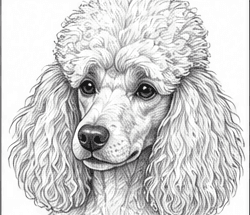
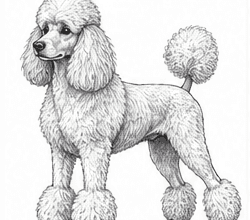
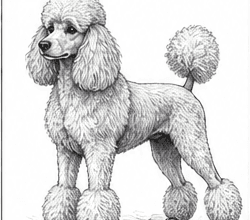
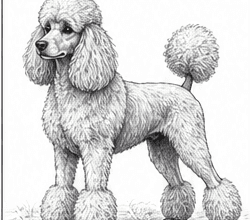
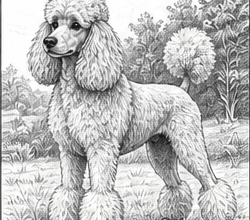
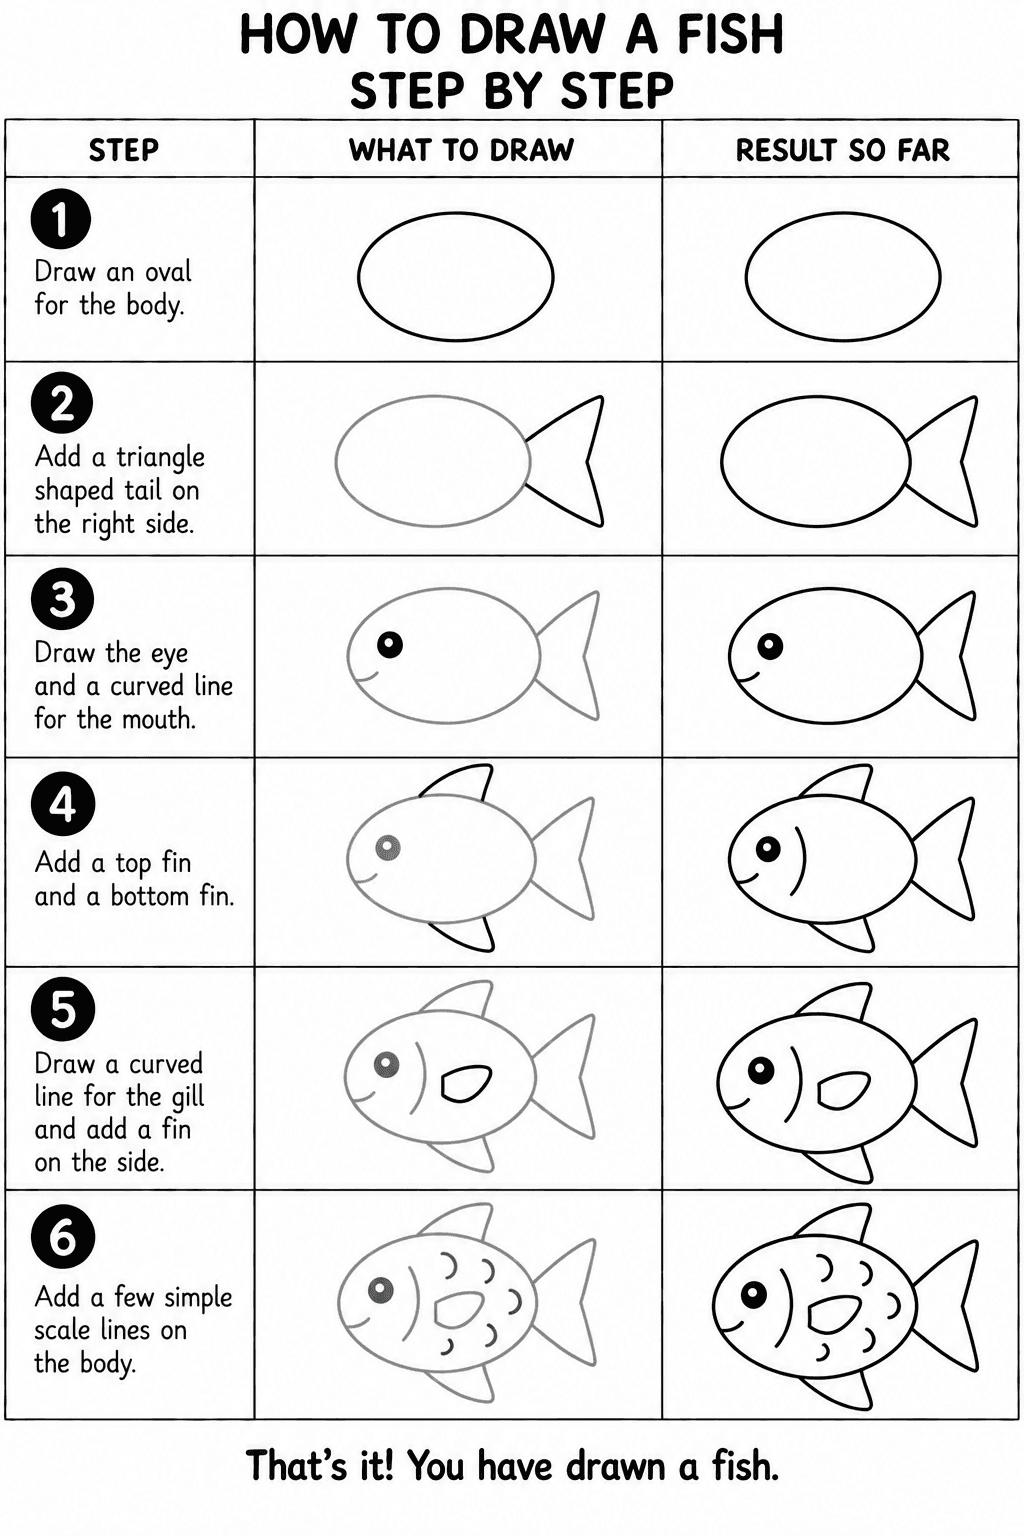
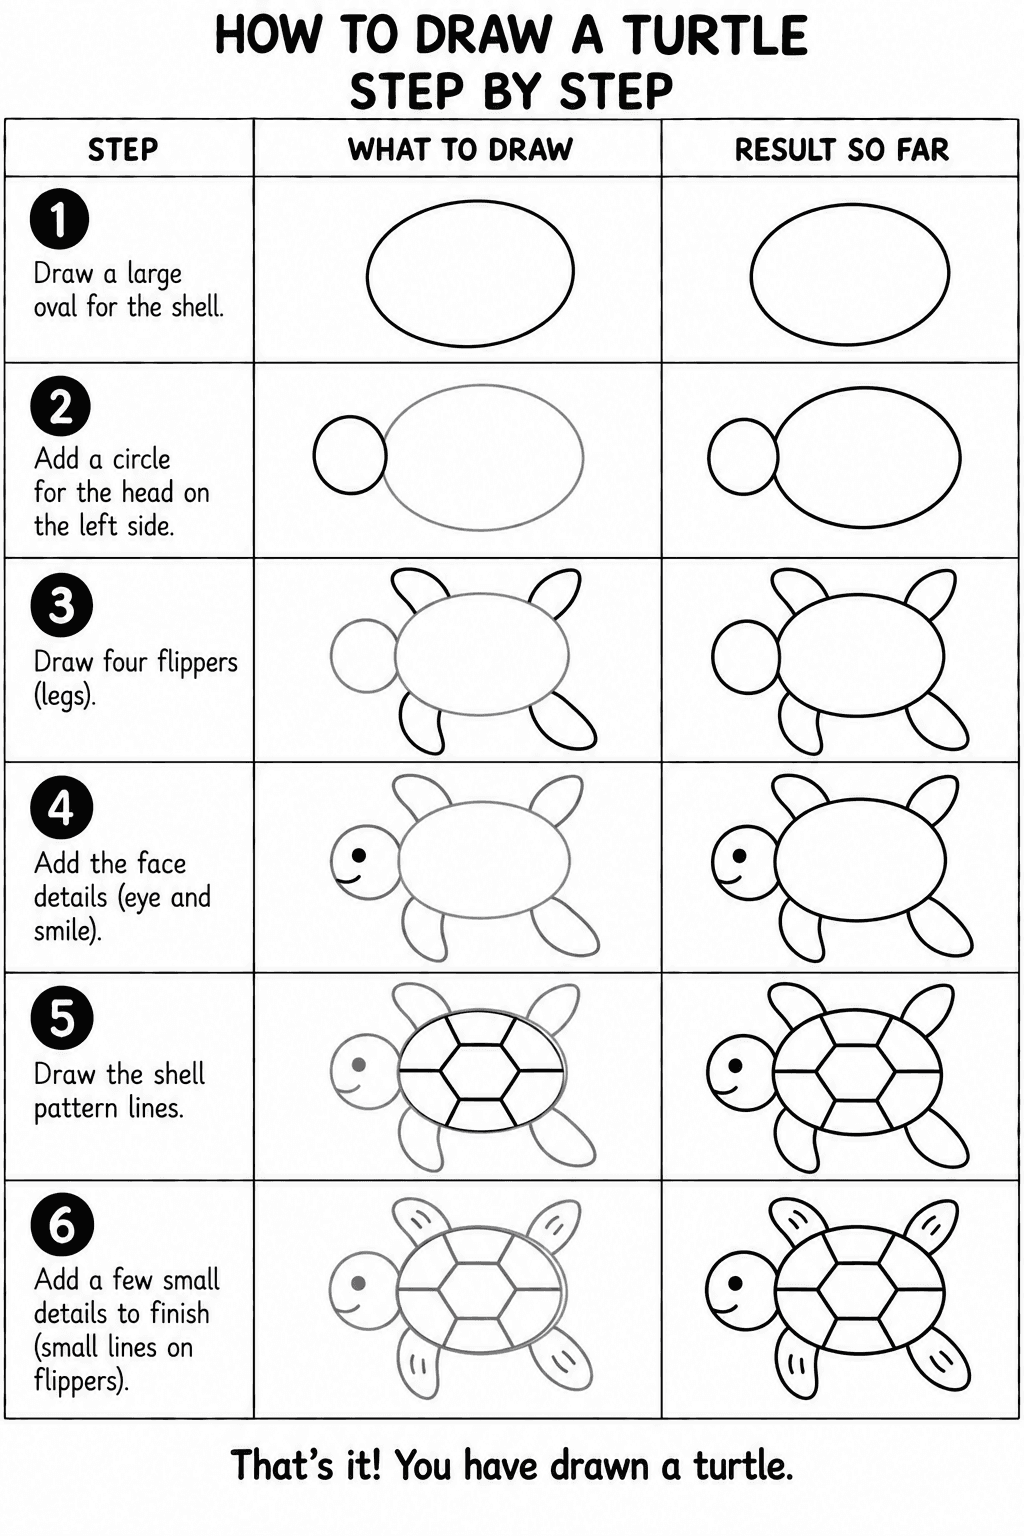
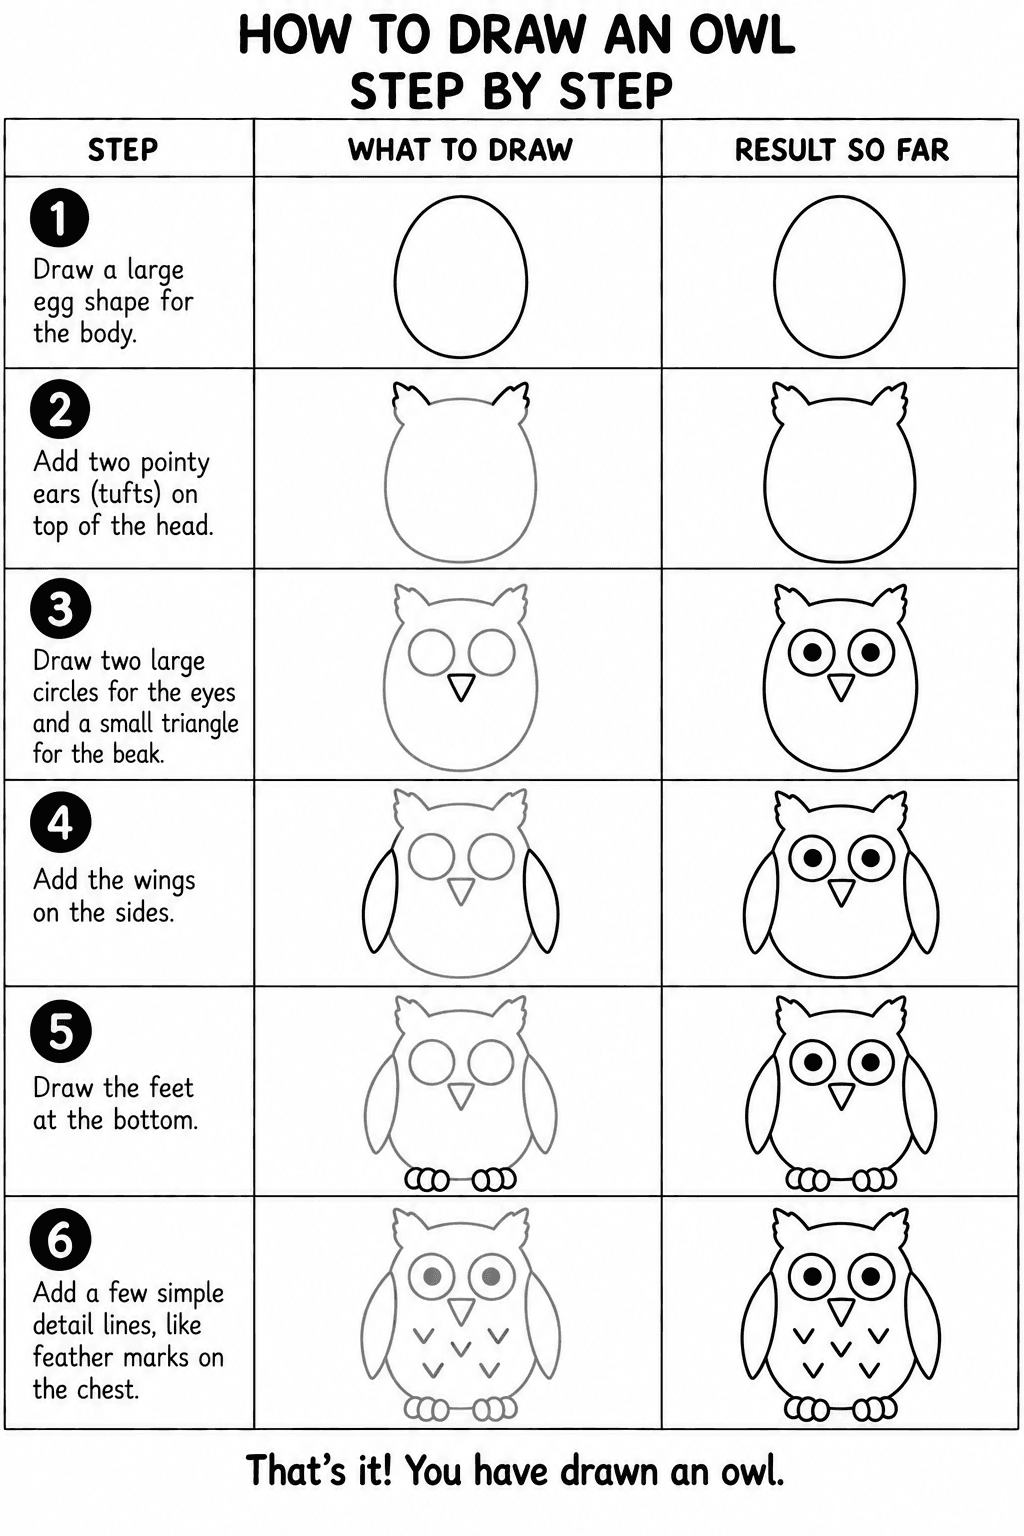
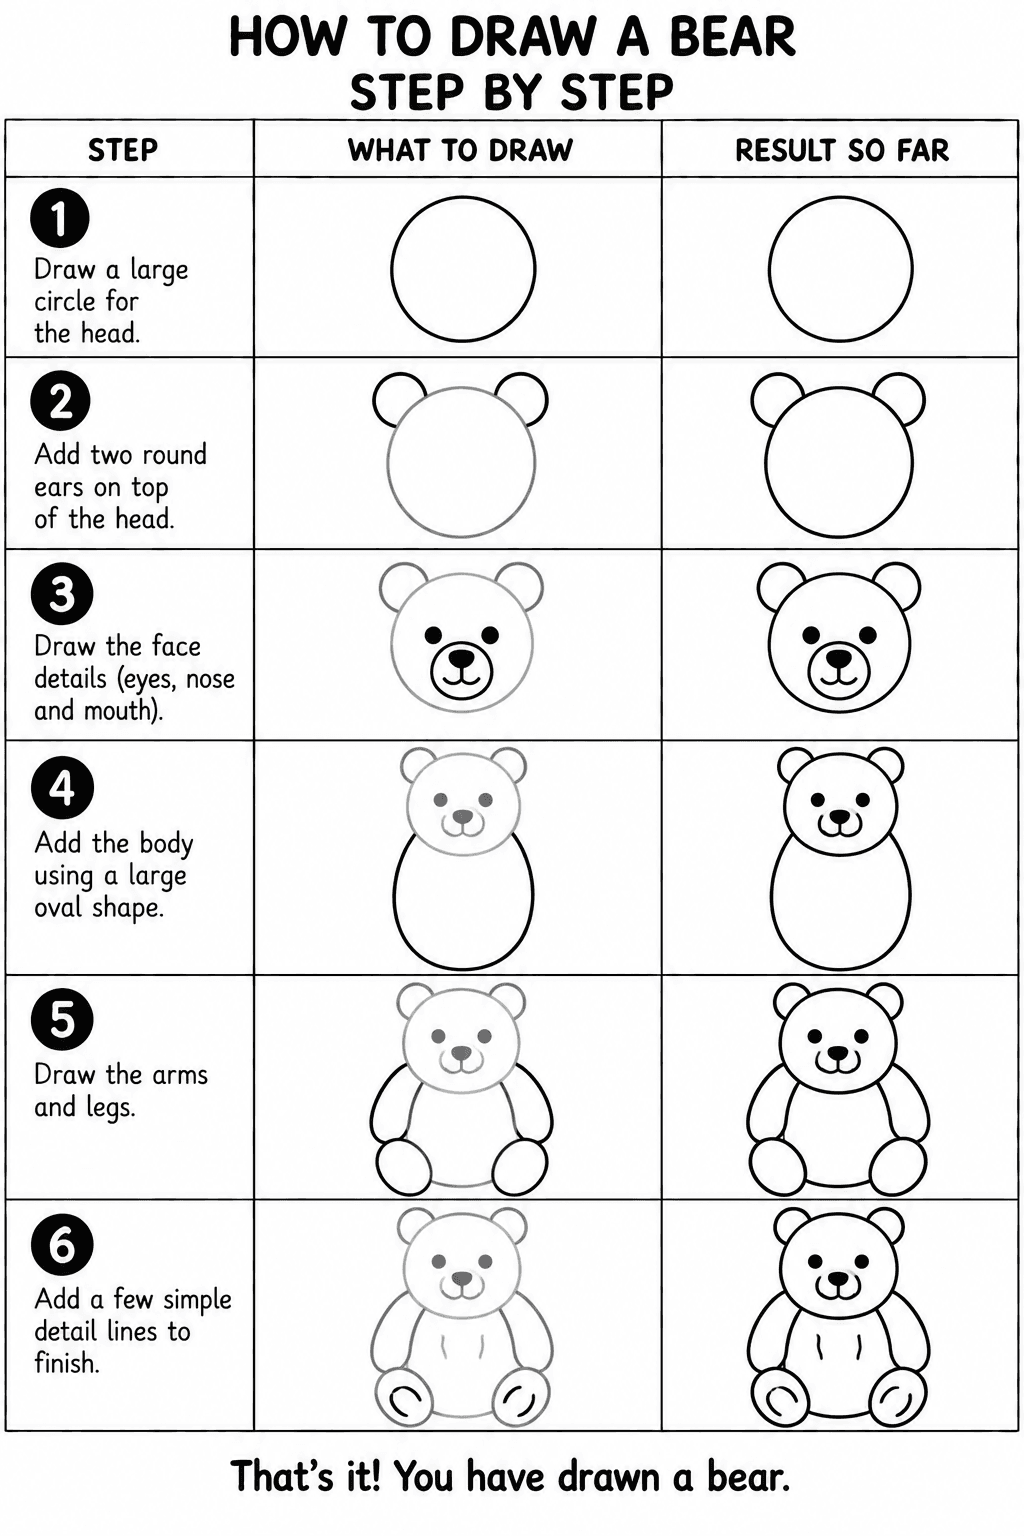
A poodle with its classic clipped coat: topknot, fluffy ears and pom-pom legs, drawn with simple curls first and detailed texture later.
Beginner poodle
6 steps
A circle, an oval and simple legs, then the fluffy ears, topknot and tail, the face and the pom-pom fur on the legs. Six steps.
What you need
A pencil, an eraser and a sheet of paper are enough. Draw lightly at first, then trace the lines you want to keep when your poodle is finished.
Step 1 of 6
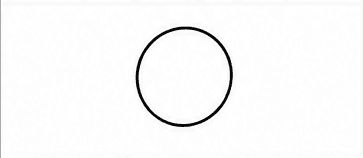
Draw the poodle's head
Start with one circle for the head. Position it to the left so the body can extend behind it.
Your drawing after step 1
Step 2 of 6
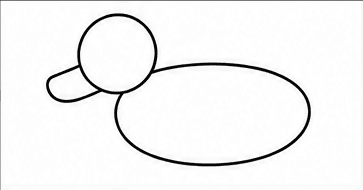
Add the muzzle and oval body
Draw a long rounded muzzle in front of the head and a wide oval for the body. Overlap the shapes slightly.
Your drawing after step 2
Step 3 of 6
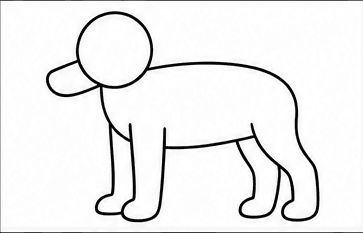
Draw four slender legs
Extend four simple legs below the body. Keep the front legs straight and give the back legs a gentle bend.
Your drawing after step 3
Step 4 of 6
Add the poodle's fluffy coat shapes
Use cloud-like curves for the topknot, long ear and tail pom-pom. Add a small eye and nose to make the head readable.
Your drawing after step 4
Step 5 of 6
Finish the facial details
Darken the eye and nose, then add a short curved mouth line. Keep the face simple between the fluffy topknot and ear.
Your drawing after step 5
Step 6 of 6
Add fluffy fur around the paws
Draw a rounded cloud shape around the bottom of each leg. These four pom-poms complete the poodle's classic trimmed coat.
Your drawing after step 6
That's it! You have drawn a poodle.
Trace your favorite lines a little darker, erase any unwanted pencil marks and add color if you would like.
Intermediate poodle
10 steps
Pose and guides, a refined body, the head with its long ears, the face, legs and paws, then the curly coat and clipped trim, shading and a garden background. Ten steps.
What you need
A pencil, an eraser and a sheet of paper are enough. Draw lightly at first, then trace the lines you want to keep when your poodle is finished.
Step 1 of 10
Set the Poodle's pose
Block in the head, chest and hips with simple forms, then add light guides for the standing legs, tail and ground.
Your drawing after step 1
Step 2 of 10
Refine the body contours
Connect the forms with smooth lines. Keep the chest deep, waist tucked, legs long and tail base high.
Your drawing after step 2
Step 3 of 10
Construct the head and ears
Shape the forehead, muzzle and jaw over the guides. Add long hanging ears and mark the rounded topknot above the forehead.
Your drawing after step 3
Step 4 of 10
Draw the facial features
Add the eyes, nose and mouth, then refine the ears, cheeks and other defining contours of the head.
Your drawing after step 4
Step 5 of 10
Define the legs and paws
Shape the leg muscles and joints, keep the stance balanced, and finish each paw with toes and small nail marks.
Your drawing after step 5
Step 6 of 10
Add body and coat structure
Use contour and texture lines to clarify the neck, chest, shoulders, belly and hindquarters. Separate the closely clipped body from the fluffy head, ears, chest, tail pom and leg bracelets.
Your drawing after step 6
Step 7 of 10
Layer more fur detail
Follow the form with directional strokes, varying their length and density while preserving the underlying anatomy.
Your drawing after step 7
Step 8 of 10
Shade the face and body
Use hatching to build depth around the head, underside and legs. Keep the eyes and nose among the darkest accents.
Your drawing after step 8
Step 9 of 10
Place the dog in a simple scene
Draw grass or earth around the paws and suggest a light fence, garden or distant landscape in the background.
Your drawing after step 9
Step 10 of 10
Finish the Poodle drawing
Clean unused guides, balance the contrast and add final fur, ground texture and cast-shadow details.
Your drawing after step 10
That's it! You have drawn a poodle.
Trace your favorite lines a little darker, erase any unwanted pencil marks and add color if you would like.
Advanced poodle
12 steps
Guide lines and proportions, head construction with the topknot, then body structure, the clipped coat outlined and textured curl by curl, shading, a ground shadow and final details. Twelve steps.
What you need
A pencil, an eraser and a sheet of paper are enough. Draw lightly at first, then trace the lines you want to keep when your poodle is finished.
Step 1 of 12
Draw the Poodle guide lines
Block in the head, chest and hips with simple forms. Add center lines, leg joints and a level ground guide.
Your drawing after step 1
Step 2 of 12
Refine the Poodle's proportions
Turn the guides into a balanced standing pose. Keep the chest deep, waist tucked, legs long and the tail carried high. Keep these construction lines light.
Your drawing after step 2
Step 3 of 12
Construct the head and muzzle
Build the skull and muzzle with rounded or box-shaped forms. Use a long refined muzzle, hanging ears and a rounded topknot. Add guides for the eyes, nose and mouth.
Your drawing after step 3
Step 4 of 12
Draw the detailed face
Render the eyes, nose, mouth and ears, then refine the facial contours that make the Poodle recognizable.
Your drawing after step 4
Step 5 of 12
Develop the body structure
Define the chest, rib cage, pelvis, legs and tail over the guide shapes. Preserve the breed's characteristic stance.
Your drawing after step 5
Step 6 of 12
Refine the anatomy and silhouette
Replace construction lines with natural contours, clarify the joints and paws, and check the dog's overall balance.
Your drawing after step 6
Step 7 of 12
Add the main fur outlines
Use directional strokes around the silhouette and major fur groups. Contrast the smooth clipped body with dense curls on the head, ears, chest, tail pom and lower legs.
Your drawing after step 7
Step 8 of 12
Refine the facial details
Deepen the eyes, nose and mouth, add whiskers where visible and vary line weight around the ears and muzzle.
Your drawing after step 8
Step 9 of 12
Build the coat texture
Layer pencil strokes across the body in the direction the hair grows, changing their length and density to describe the coat.
Your drawing after step 9
Step 10 of 12
Add shading and depth
Darken the underside, spaces between the legs and overlapping fur. Keep lighter values on surfaces facing the light.
Your drawing after step 10
Step 11 of 12
Draw the ground and cast shadow
Add grass or earth beneath the paws and a soft cast shadow that fades outward to anchor the dog naturally.
Your drawing after step 11
Step 12 of 12
Finish the Poodle drawing
Clean unused guides, sharpen key contours, balance highlights and shadows, and add a light outdoor background.
Your drawing after step 12
That's it! You have drawn a poodle.
Trace your favorite lines a little darker, erase any unwanted pencil marks and add color if you would like.