Skip to content
Easy Drawing

How to draw a tiger

A standing tiger cub with a round face and bold stripes, built from a circle, an oval and simple legs in six steps.

Beginner tiger

6 steps

A circle for the head, the ears and face guidelines, then the face with its stripes, a large oval body, the legs and paws, and finally the tail and the stripes on the body. Six steps.

What you need

A pencil, an eraser and a sheet of paper are enough. Draw lightly at first, then trace the lines you want to keep when your tiger is finished.

  1. Step 1 of 6

    Draw the tiger's head

    Start with one simple circle. This becomes the tiger's head and gives you room for the ears, face and stripes.

    Step 1: draw the tiger's head when drawing a tiger
    Your drawing after step 1
  2. Step 2 of 6

    Add ears and face guidelines

    Draw two small rounded ears on top of the head. Add one light vertical line and one horizontal line to help center the face.
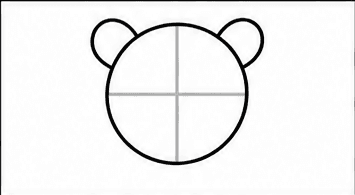
    Step 2: add ears and face guidelines when drawing a tiger
    Your drawing after step 2
  3. Step 3 of 6

    Draw the tiger's face and stripes

    Use the guides to place two eyes, a small nose and a curved mouth. Add a few bold triangular stripes on the forehead and cheeks.

    Beginner tip: Keep the stripe pattern simple; three areas of stripes are enough to make the face recognizable.
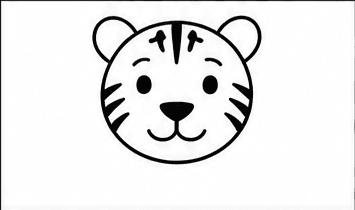
    Step 3: draw the tiger's face and stripes when drawing a tiger
    Your drawing after step 3
  4. Step 4 of 6

    Add the tiger's oval body

    Draw a large horizontal oval behind the head. Let the head overlap the body so the shapes join naturally.
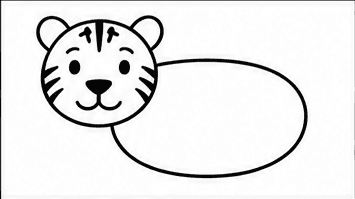
    Step 4: add the tiger's oval body when drawing a tiger
    Your drawing after step 4
  5. Step 5 of 6

    Draw four legs and paws

    Extend four sturdy legs below the body and round each paw. Add two or three short toe lines to each foot.
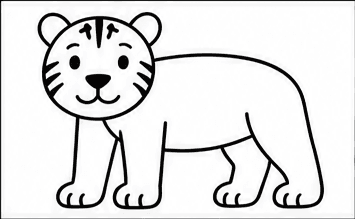
    Step 5: draw four legs and paws when drawing a tiger
    Your drawing after step 5
  6. Step 6 of 6

    Finish the tail and body stripes

    Draw a long curved tail rising behind the tiger. Add a few tapered stripes across the back, legs and tail without filling every space.
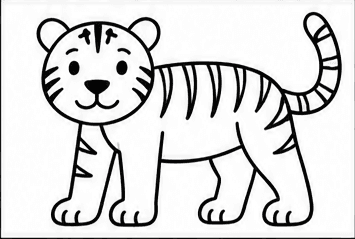
    Step 6: finish the tail and body stripes when drawing a tiger
    Your drawing after step 6

That's it! You have drawn a tiger.

Trace your favorite lines a little darker, erase any unwanted pencil marks and add color if you would like.
Related tutorials, same category first.

  • Fish drawing tutorial

    Fish

    Animals

    • Beginner, free
    • Intermediate, coming soon
    • Advanced, coming soon
  • Turtle drawing tutorial

    Turtle

    Animals

    • Beginner, free
    • Intermediate, coming soon
    • Advanced, coming soon
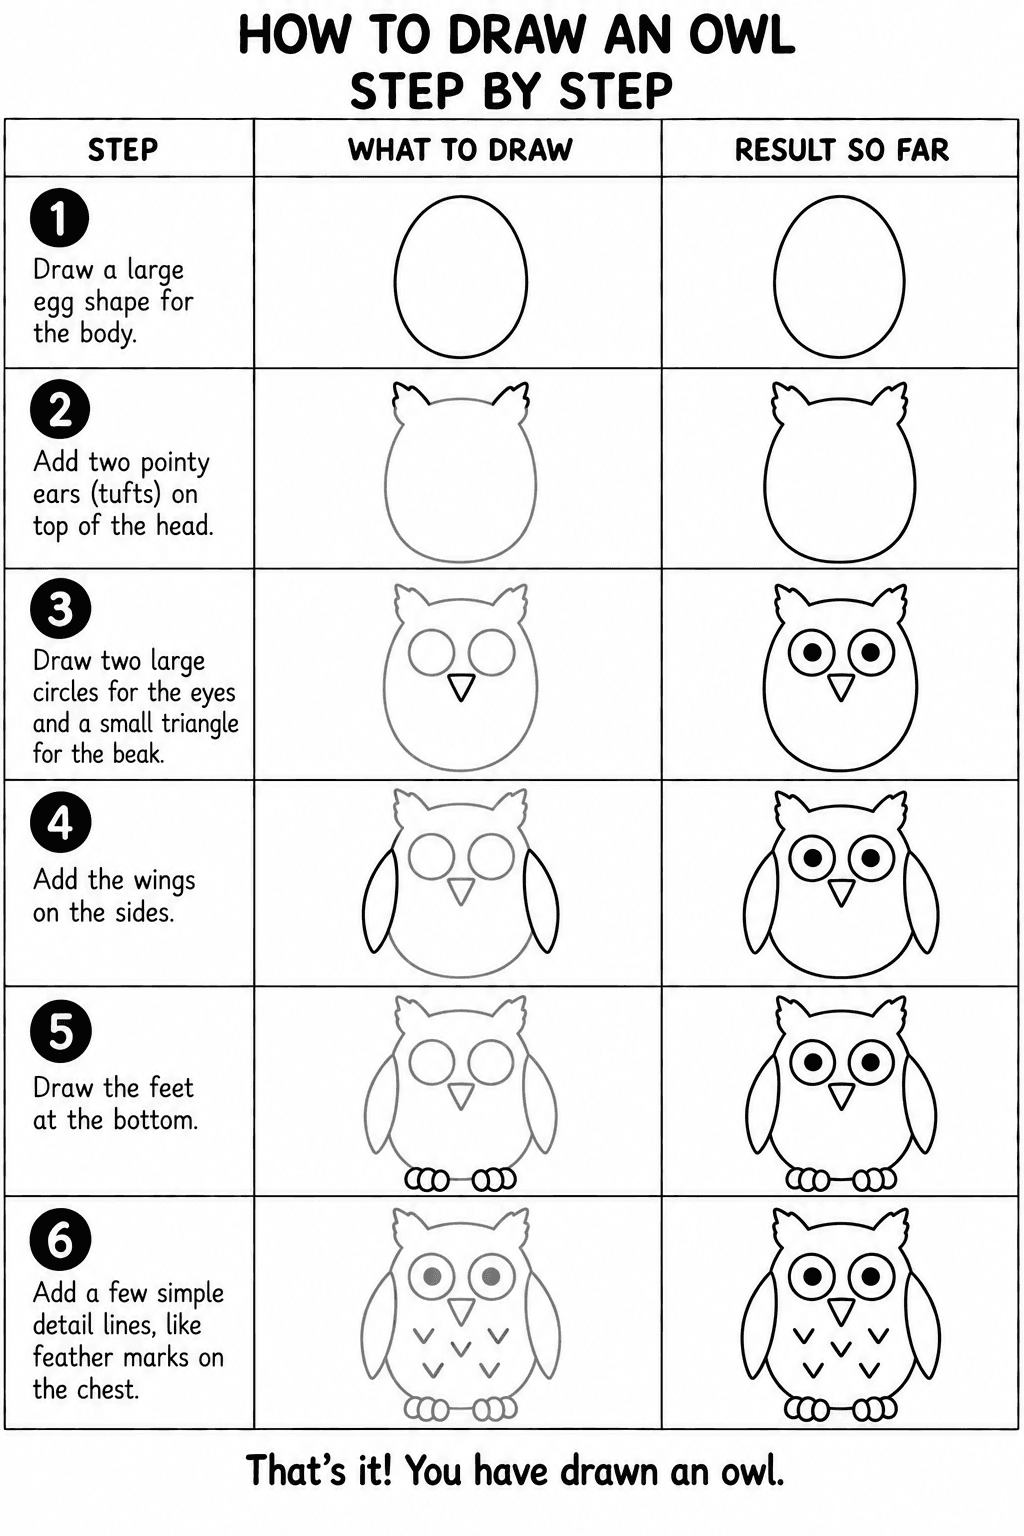
  • Owl drawing tutorial

    Owl

    Animals

    • Beginner, free
    • Intermediate, coming soon
    • Advanced, coming soon
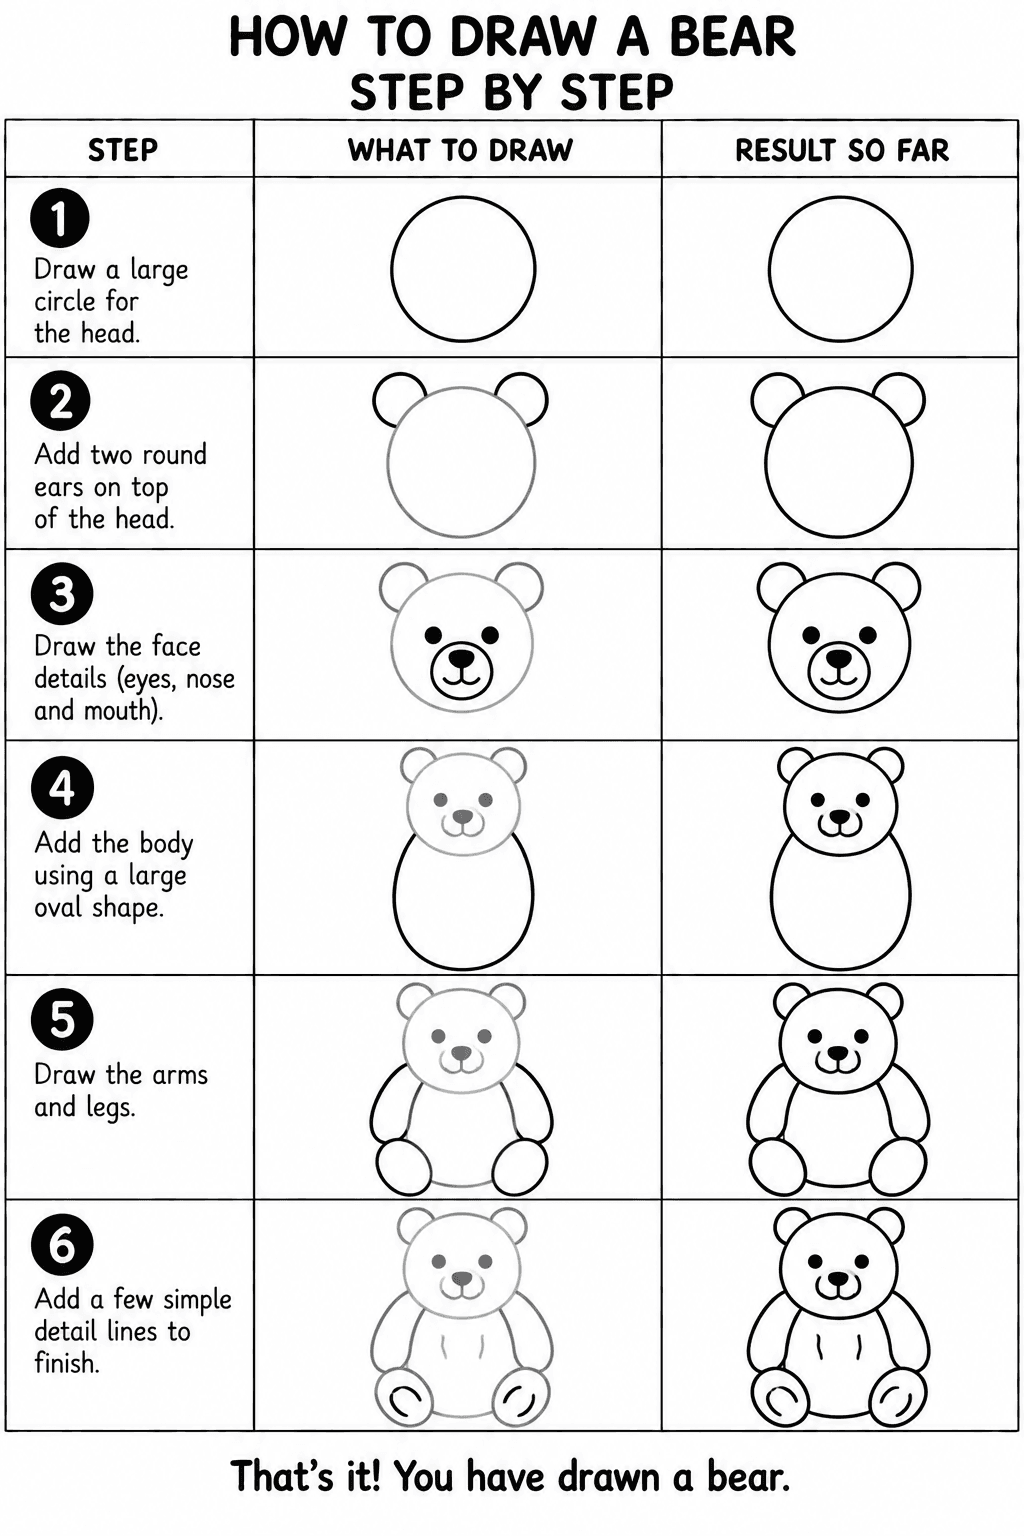
  • Bear drawing tutorial

    Bear

    Animals

    • Beginner, free
    • Intermediate, coming soon
    • Advanced, coming soon
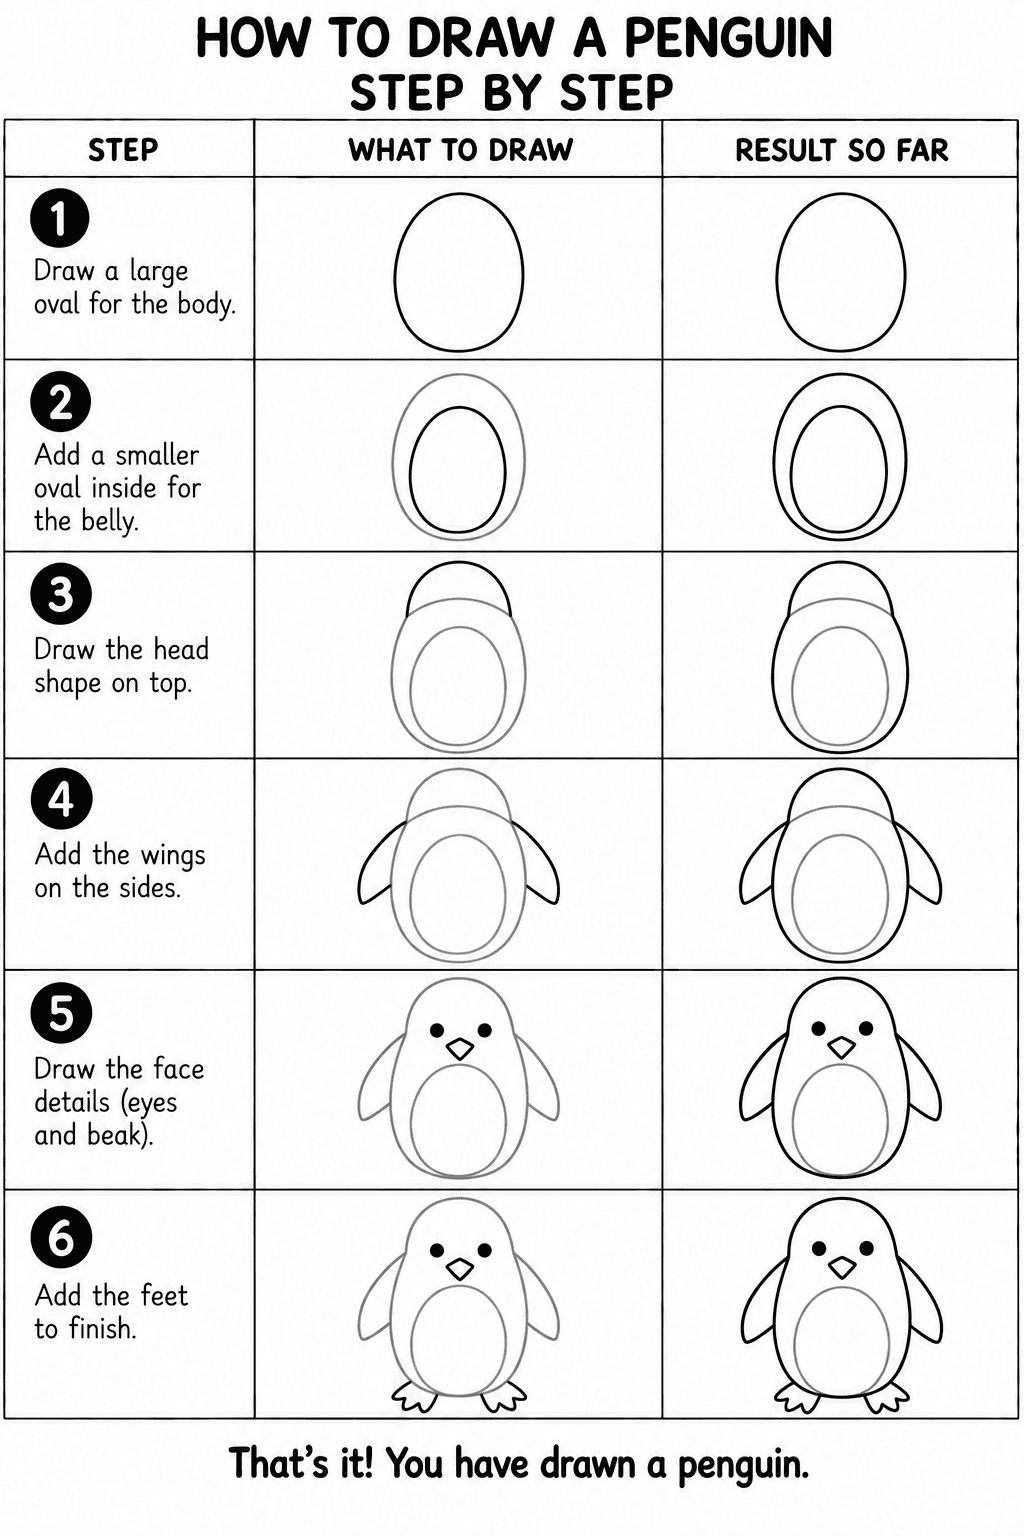
  • Penguin drawing tutorial

    Penguin

    Animals

    • Beginner, free
    • Intermediate, coming soon
    • Advanced, coming soon
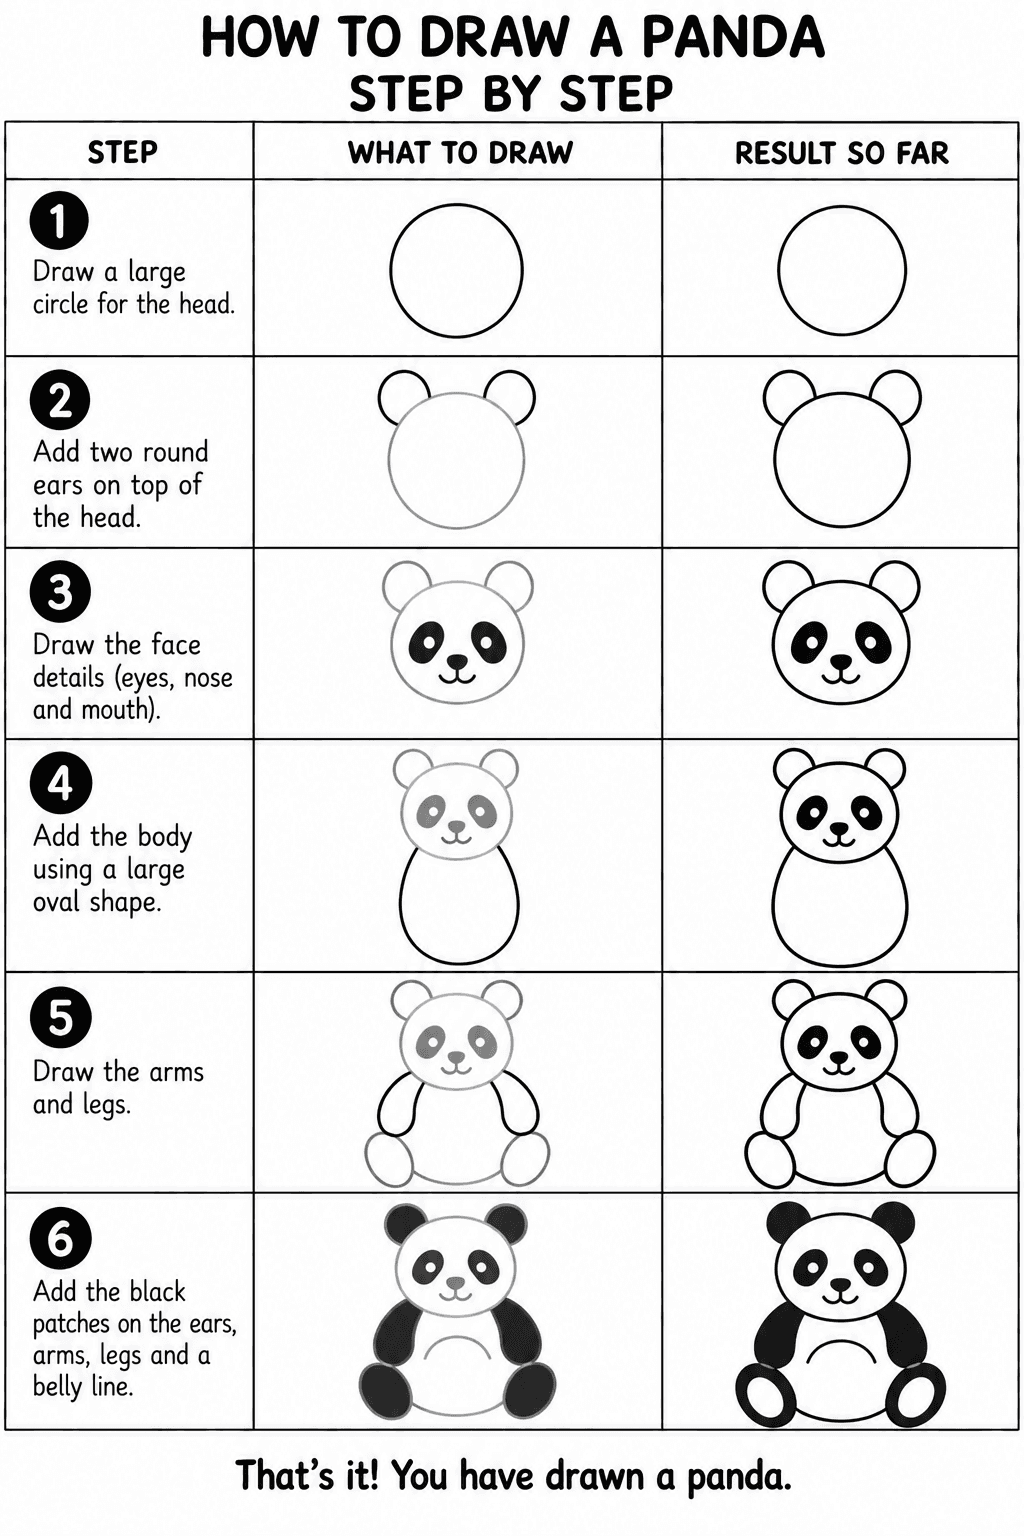
  • Panda drawing tutorial

    Panda

    Animals

    • Beginner, free
    • Intermediate, coming soon
    • Advanced, coming soon
  • Dolphin drawing tutorial

    Dolphin

    Animals

    • Beginner, free
    • Intermediate, coming soon
    • Advanced, coming soon
  • Shark drawing tutorial

    Shark

    Animals

    • Beginner, free
    • Intermediate, coming soon
    • Advanced, coming soon
All tutorials